Plant Care
How to Repot Your Plants
To promote continued growth and root health, it’s important to know how and when to re-pot your plants. The average healthy houseplant will outgrow its container and need to be re-potted at least once in its lifetime.
If you’re new to plant parenthood, repotting can seem intimidating. But repotting doesn’t have to be like rocket science. We’re here to empower beginner plant owners with the Grow-How® they need to care for their growing collections. Read our guide on repotting houseplants, including knowing when to repot and a step-by-step how-to tutorial on rehoming your plants.
How do I know if I need to repot?
You’ll know it’s time for repotting when you notice roots creeping up along the top of the soil, or are seeing roots growing through the drainage holes at the bottom of the pot. This is a sign that your plant is root-bound and is in need of more space.
Another indication of when it’s time to repot is water rushing through the pot and out the drainage hole during waterings. This shows the roots are taking up too much room in the current pot, and there is not enough soil to root in the current planter.
Once you’ve determined your plant needs repotting, here’s a video tutorial on how to repot your houseplants featuring our friend @jungleinaroom, and if you want more tips, keep reading.
How To Repot Your Plants
Step 1
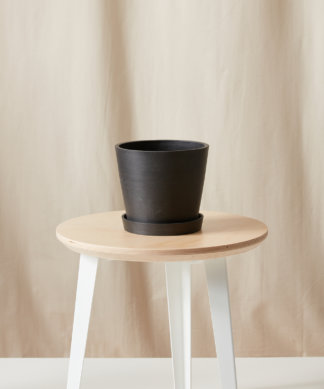
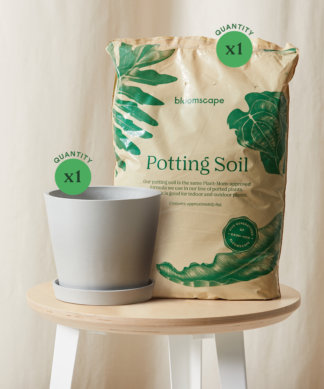
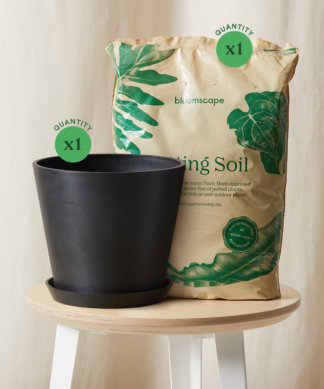
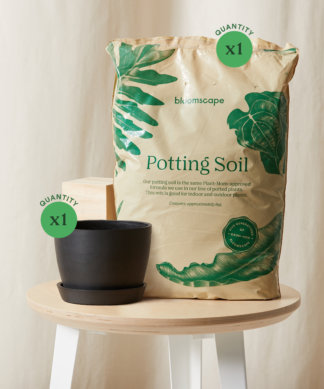
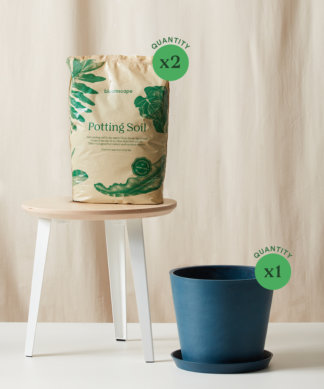
Select a pot that is approximately 2” larger than the current pot that contains drainage holes along with a saucer. If your new pot is larger than 2” of the original, there may be too much soil for the roots to use, causing the plant to remain too wet and can lead to root issues.

Step 2
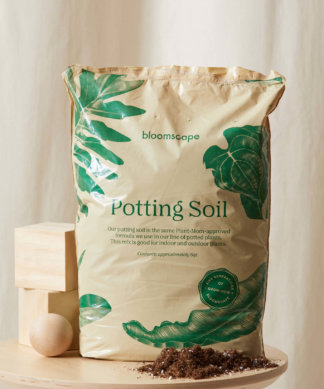
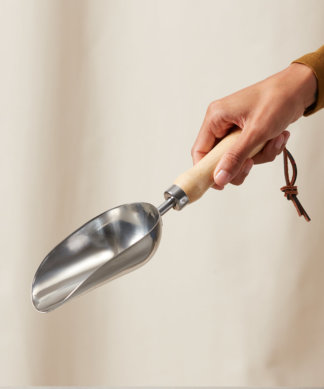
Fill the new pot one-third of the way full with fresh potting soil.
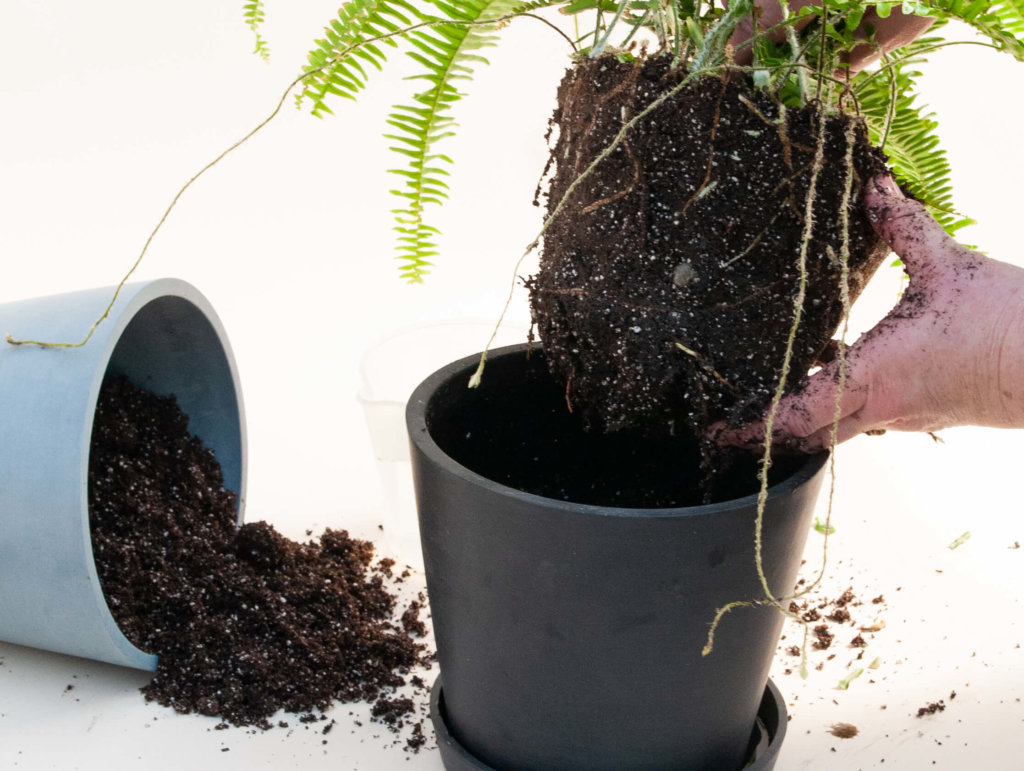
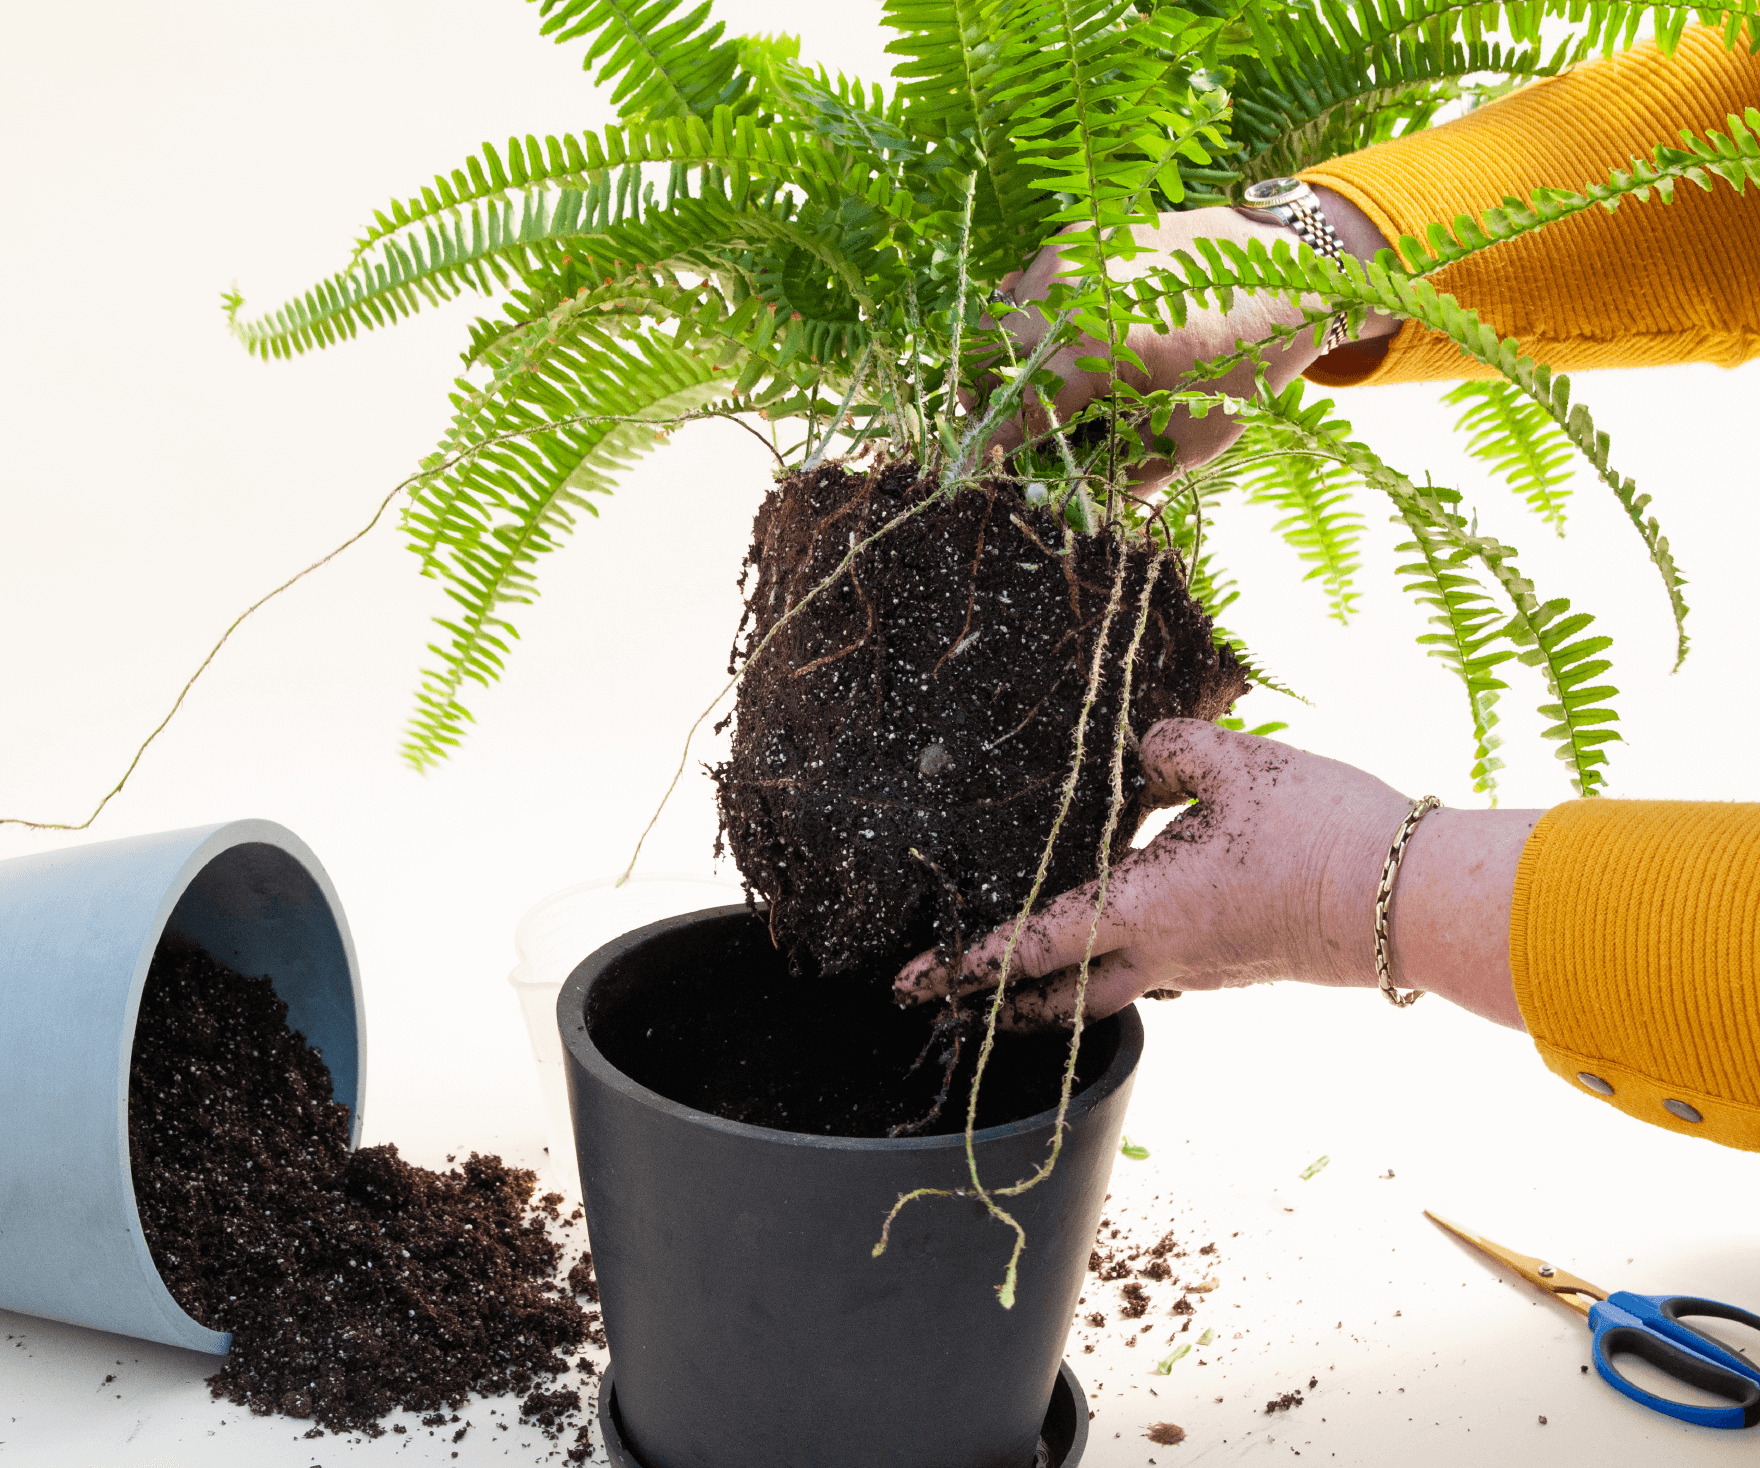
Step 3
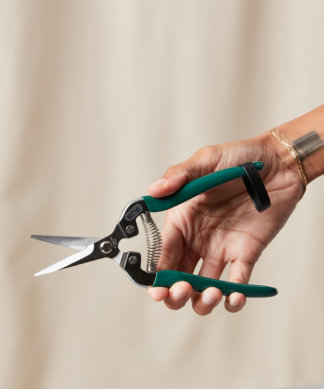
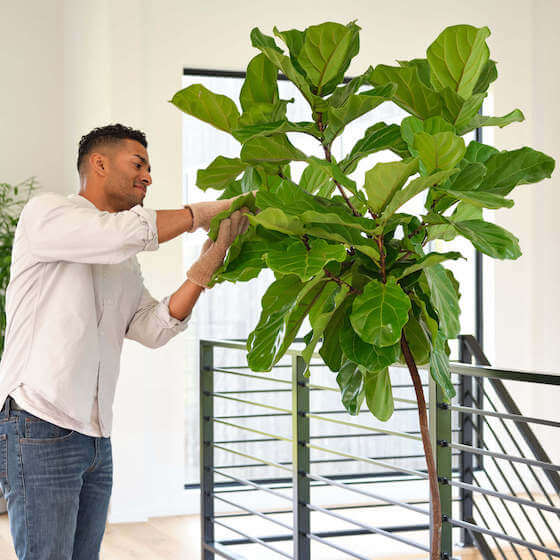
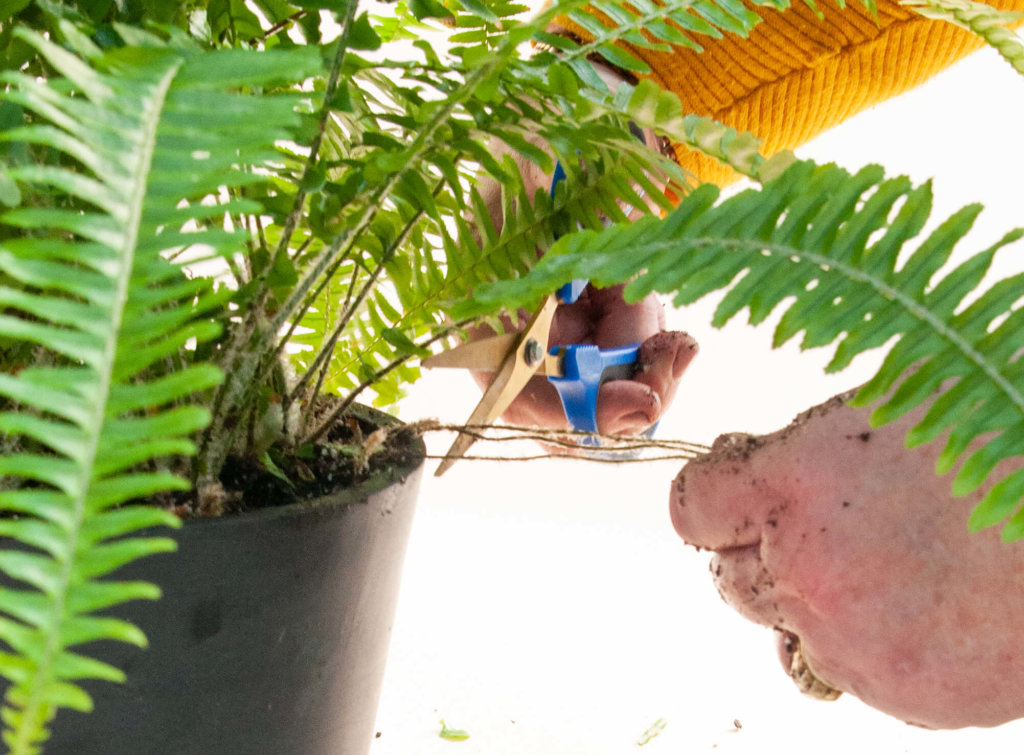
Gently slide the plant from its current pot. You may need to gently shake the plant to encourage the roots to come along, or use a soil knife. With sharp scissors or pruning shears, cut back any dead, mushy, or discolored roots. Wipe the blades with rubbing alcohol between each snip.
Step 4
Place the plant in the center of the new pot, positioning the top of its root ball a few inches below the top of the pot.
Step 5
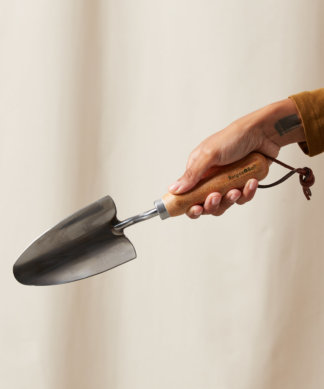
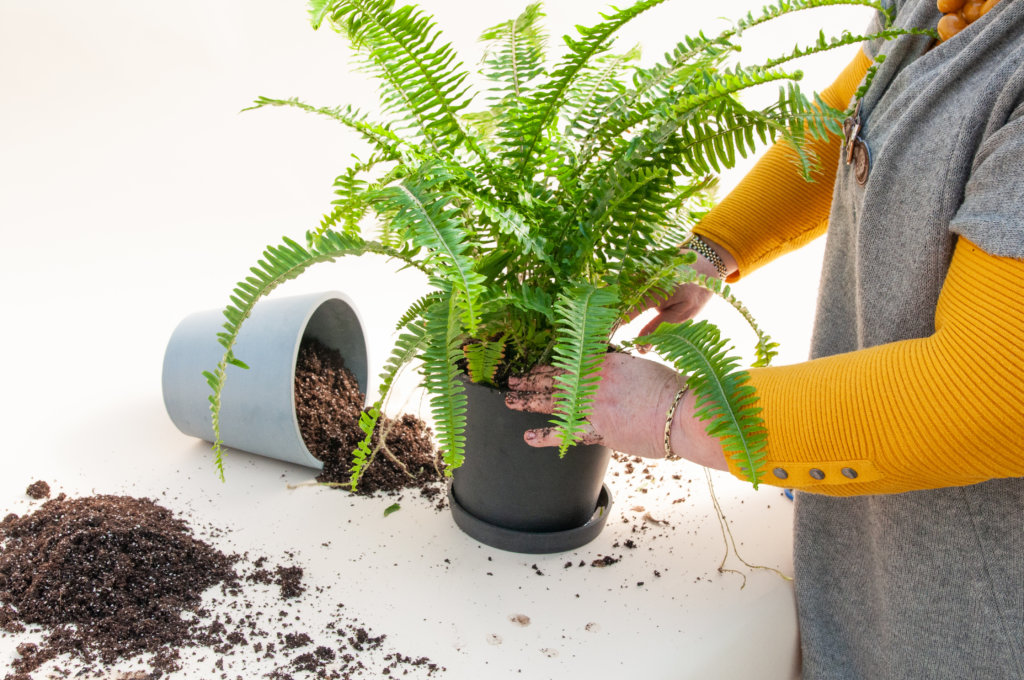
Fill the pot with soil, covering the root ball completely. Gently tamp the soil down around the roots. A soil scoop or hand trowel can come in handy here.
Step 6
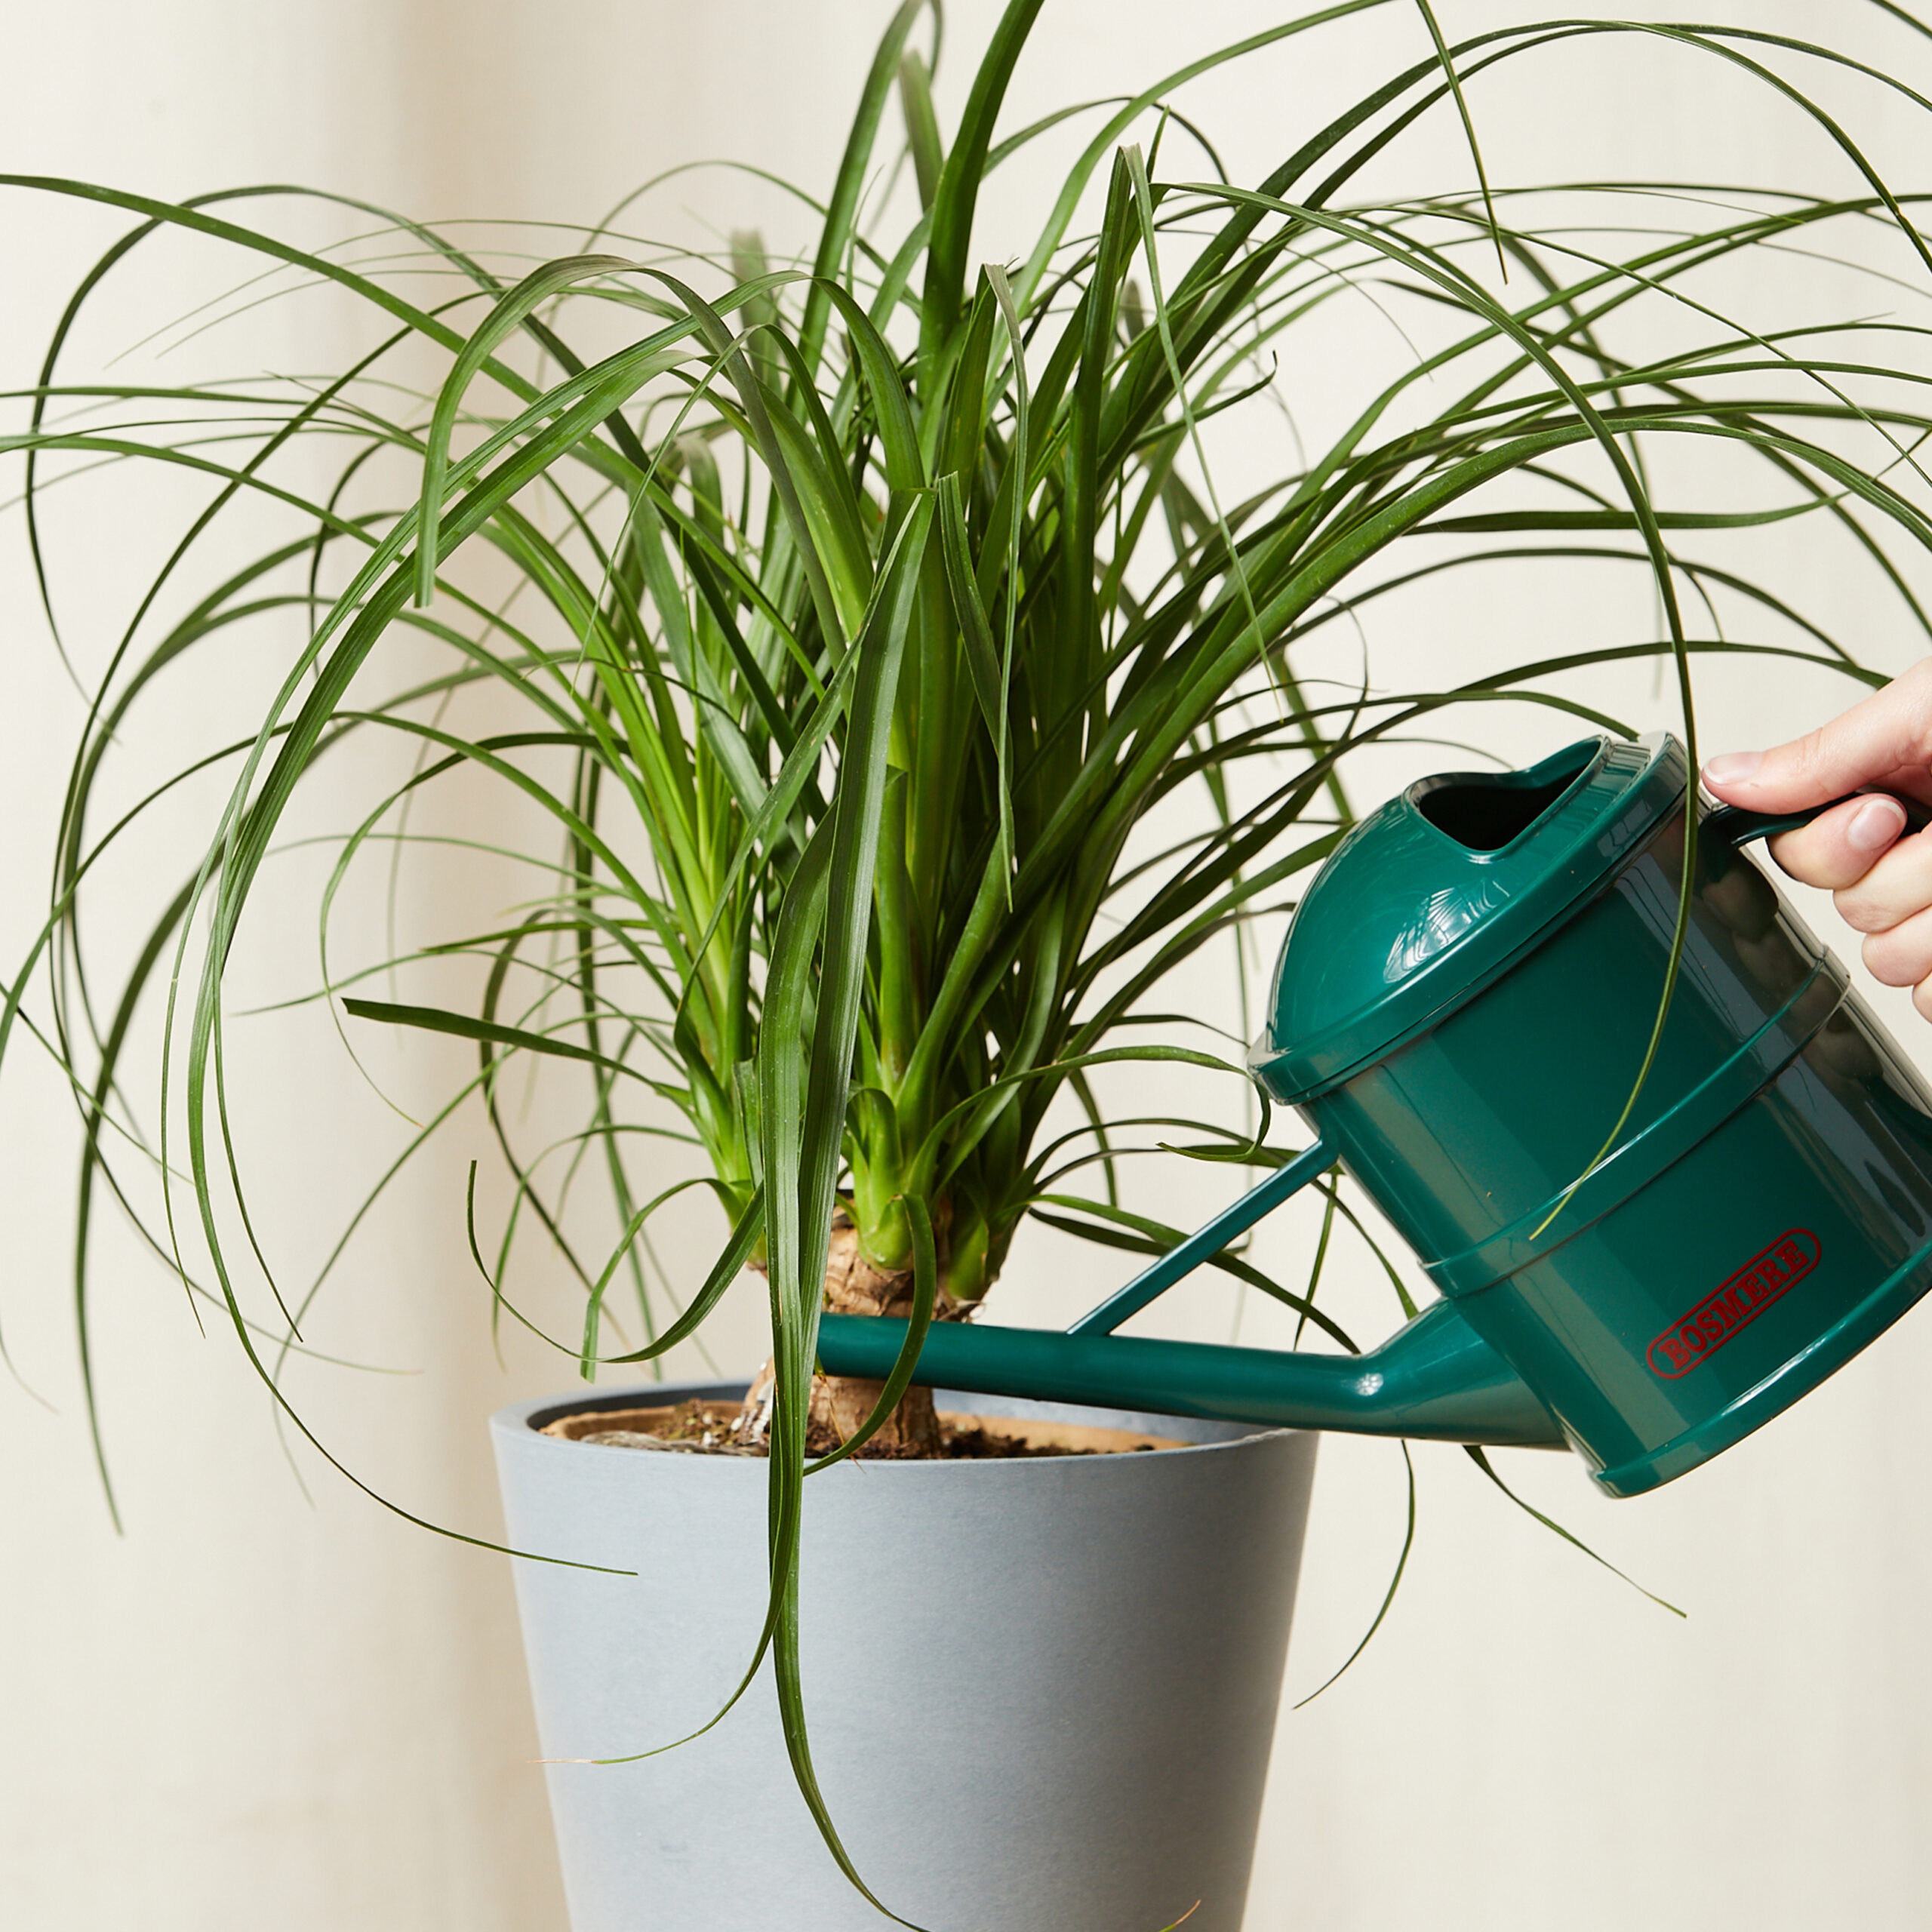
Finally, water the plant thoroughly using a watering can until the water flows freely from the bottom of the plant.
Step 7
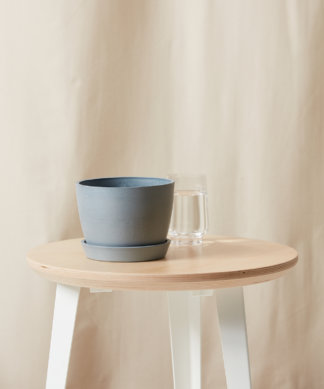
Allow the plant to rest so that all the water drains from the pot. Then place it on its new saucer, making sure there is no puddling water.
Grow-How® Pro Tip:
It is extremely important that your new pot has a hole in the bottom for excess water to drain onto a saucer. A plant in a pot without drainage is much more susceptible to root rot and damage or death from overwatering.

Need More Help?
When you purchase a plant from Bloomscape, you have access to free one-on-one expert advice from our Grow-How® Team throughout the life of the plant. So if you still have questions about repotting or other plant care topics, reach out to us — our team is here to help!