Caring for Your Replacement Plants
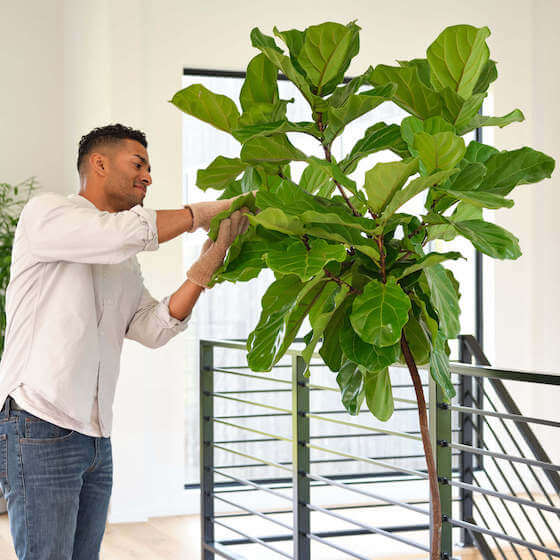
Now that your new plant friend has arrived, here are some tips to help settle it into its new home!
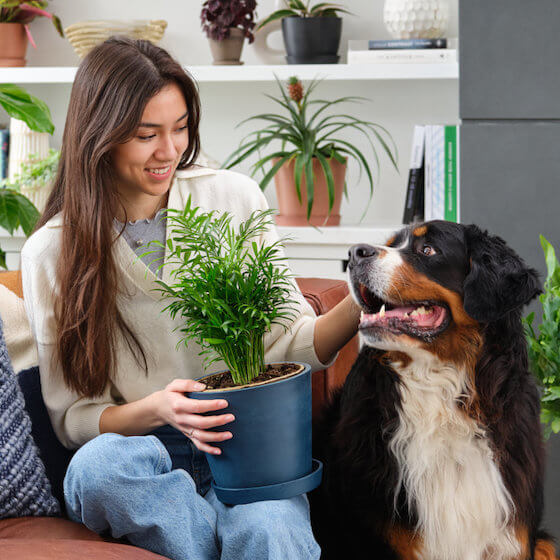
First, remove any protective packaging, and take care not to dispose of your included care card.
If your plant arrived in a grower pot, you may choose to directly repot it. If you’re new to plant care, repotting can seem intimidating, but we’ll walk you through it step by step! You can repot it straight into your original Ecopot, or any same-sized pot. You can also purchase another Ecopot here if you’d prefer a matching set.
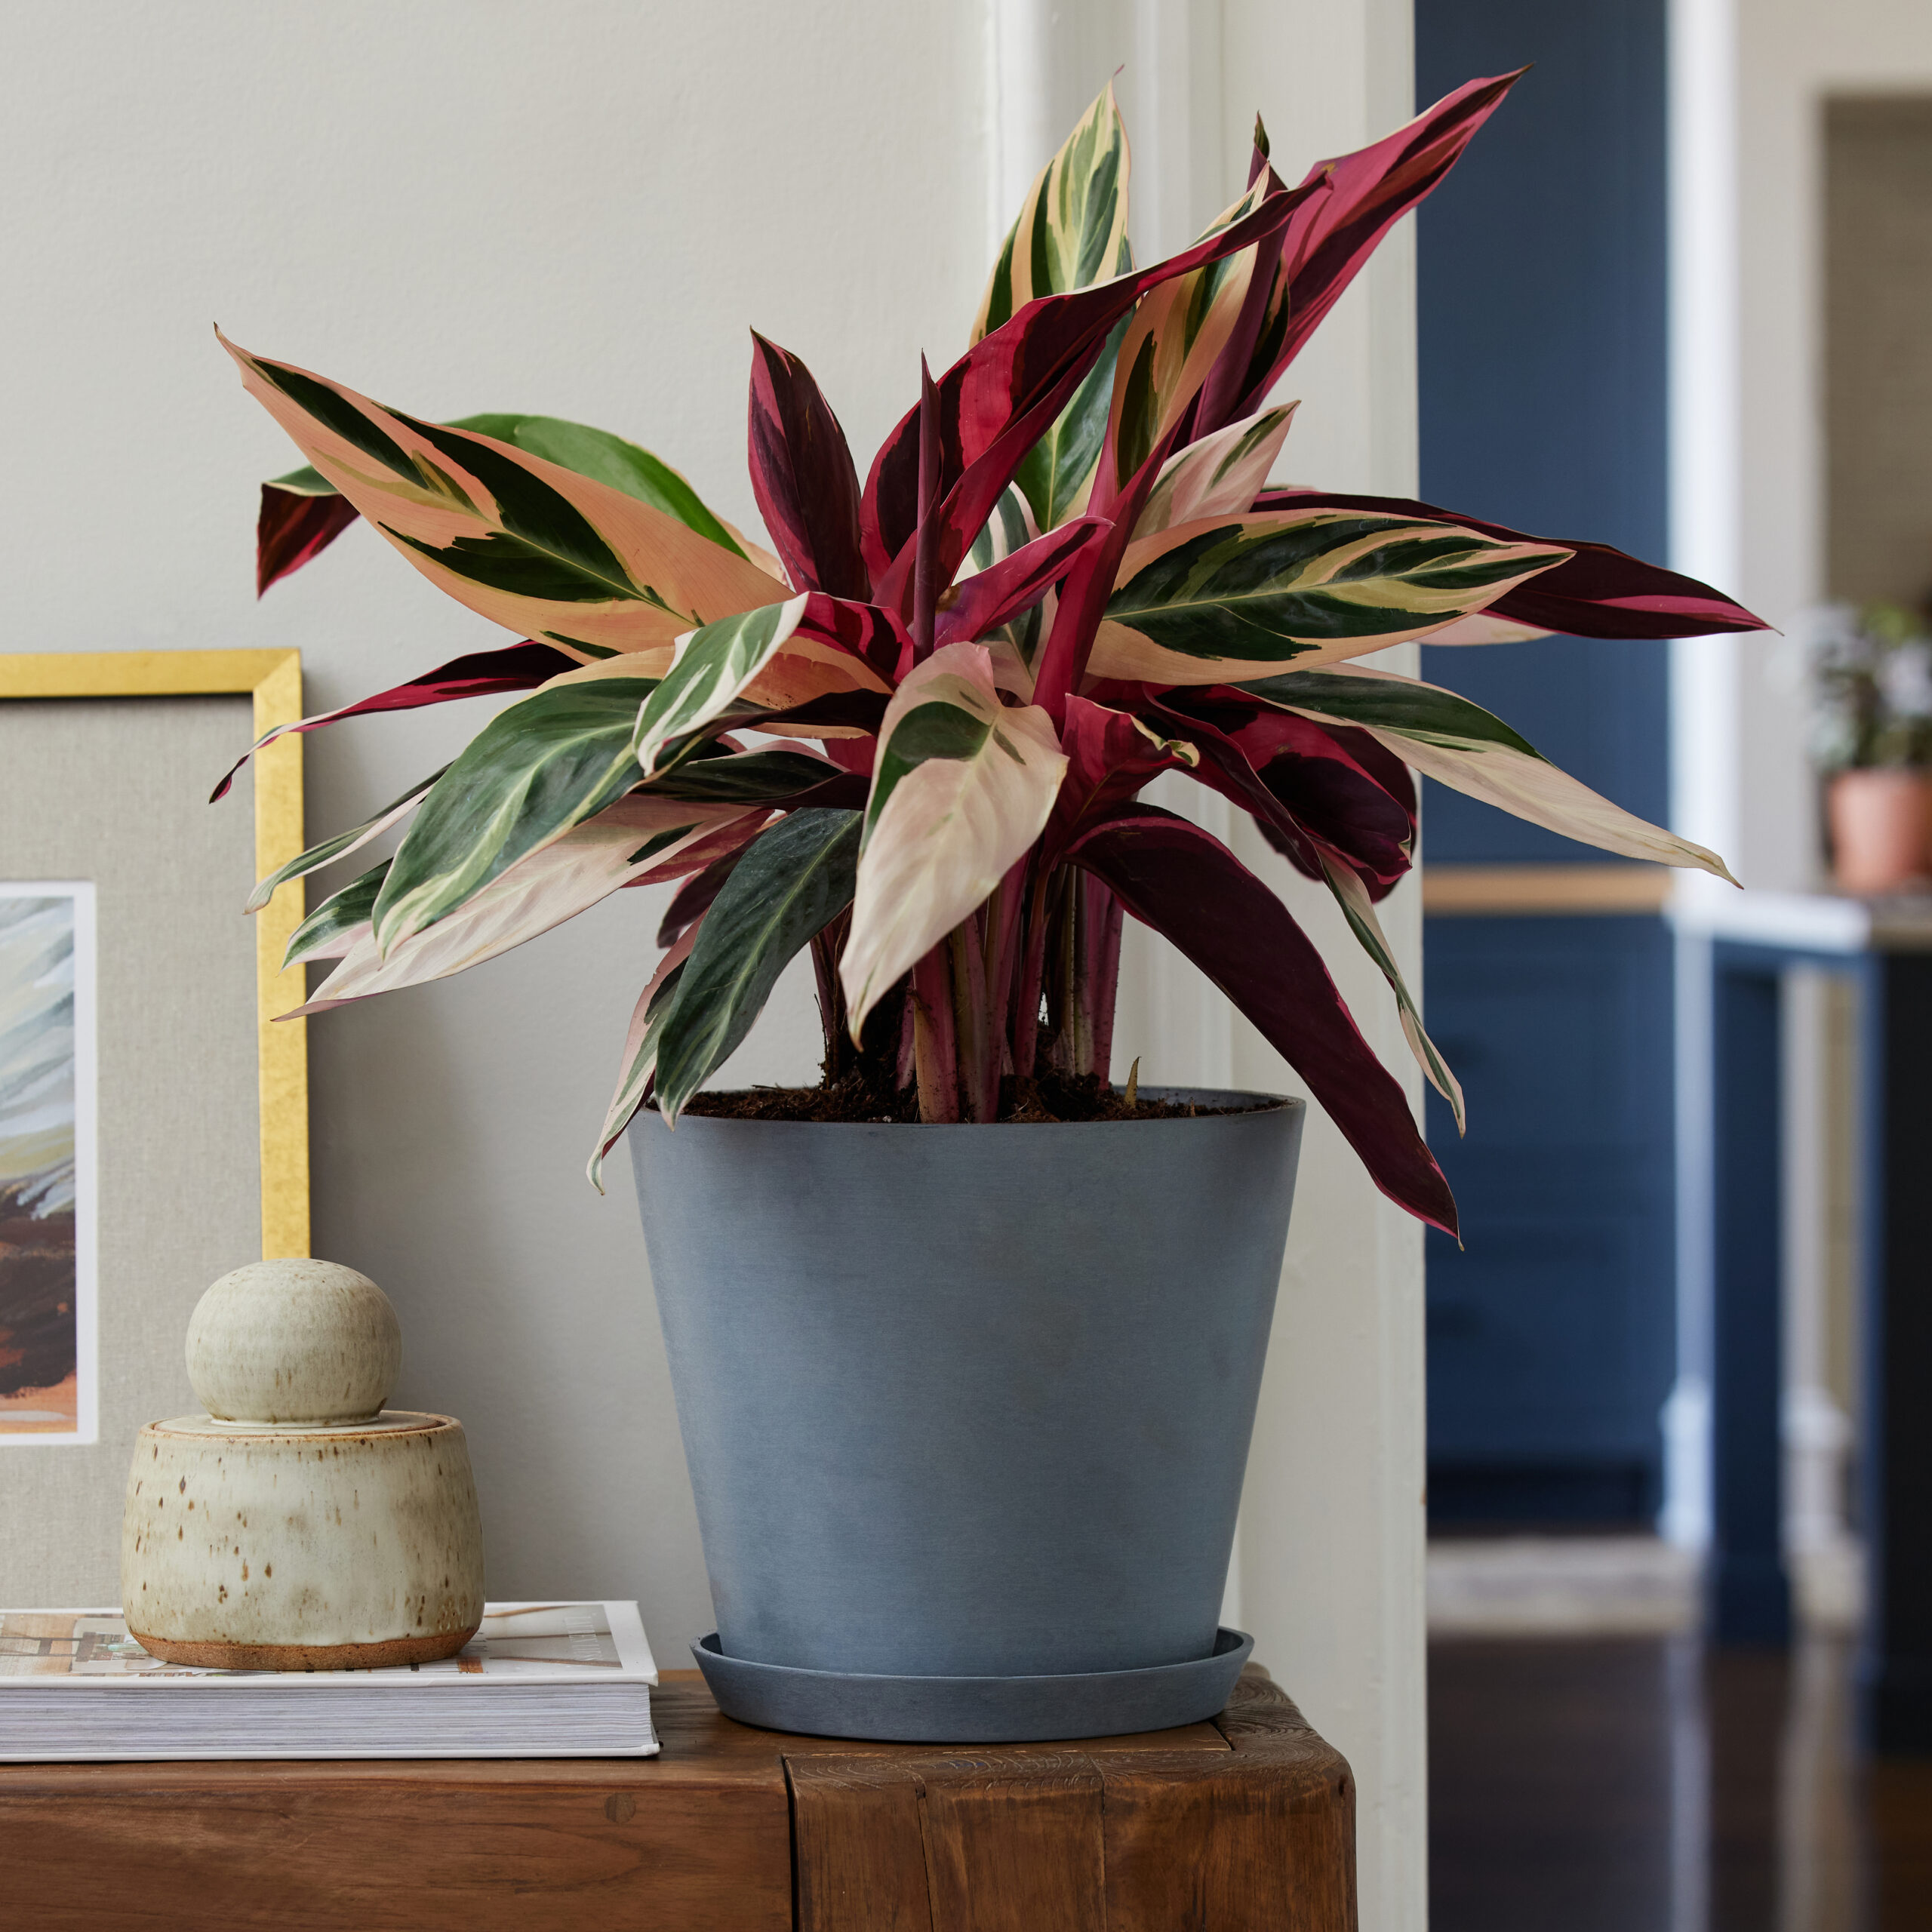
You may also choose to place your plant in a cache or decorative pot for a more customized approach. This way, whenever you want a change in aesthetic, you can simply swap out the outside pot whenever you please instead of having to wait until the next time your plant needs to be repotted!
Now that you’ve decided how’d you like to pot and display your plant, let’s move on to the repotting steps (if you need them!).
How To Repot Your Plants
Step 1
Select a pot that is the same size as your current grower pot that contains drainage holes along with a saucer. If your new pot is too large, there may be too much soil for the roots to use, causing the plant to remain too wet, which can lead to root health issues.

Step 2
Fill the new pot one-third of the way full with fresh potting soil.
Step 3
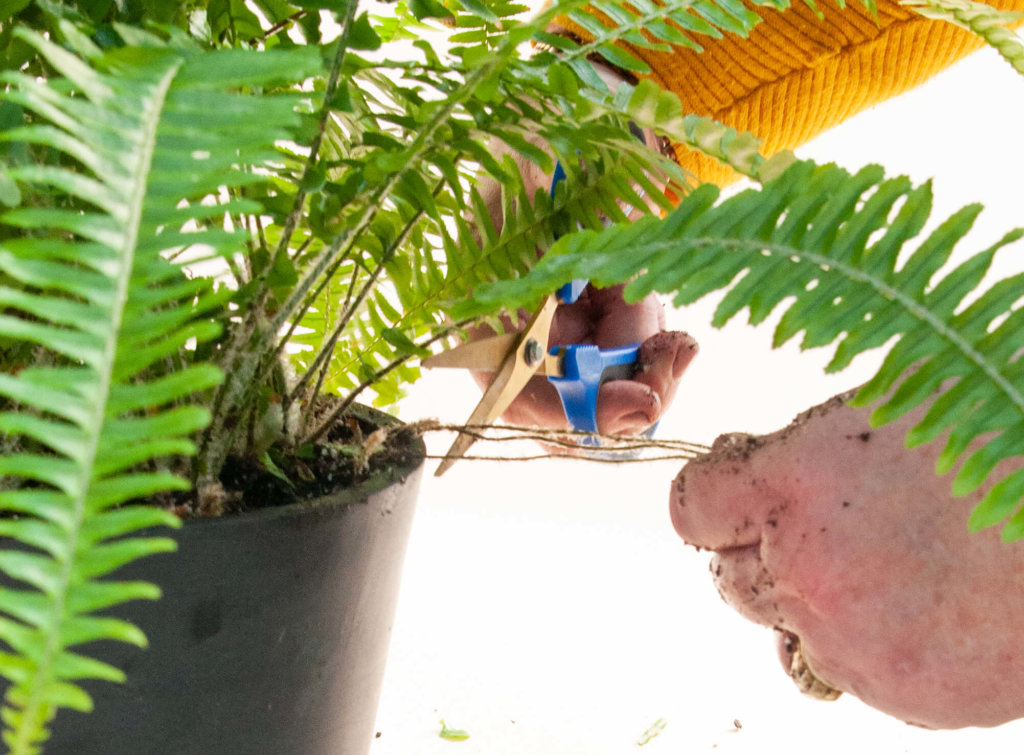
Gently slide the plant from its current pot. You may need to gently shake the plant to encourage the roots to come along, or use a soil knife. With sharp scissors or pruning shears, cut back any dead, mushy, or discolored roots. Wipe the blades with rubbing alcohol between each snip.
Grow-How® Pro Tip:
If your new plant friend is a little prickly (like a cactus) wear gardening gloves and work with caution to avoid getting poked!
Step 4
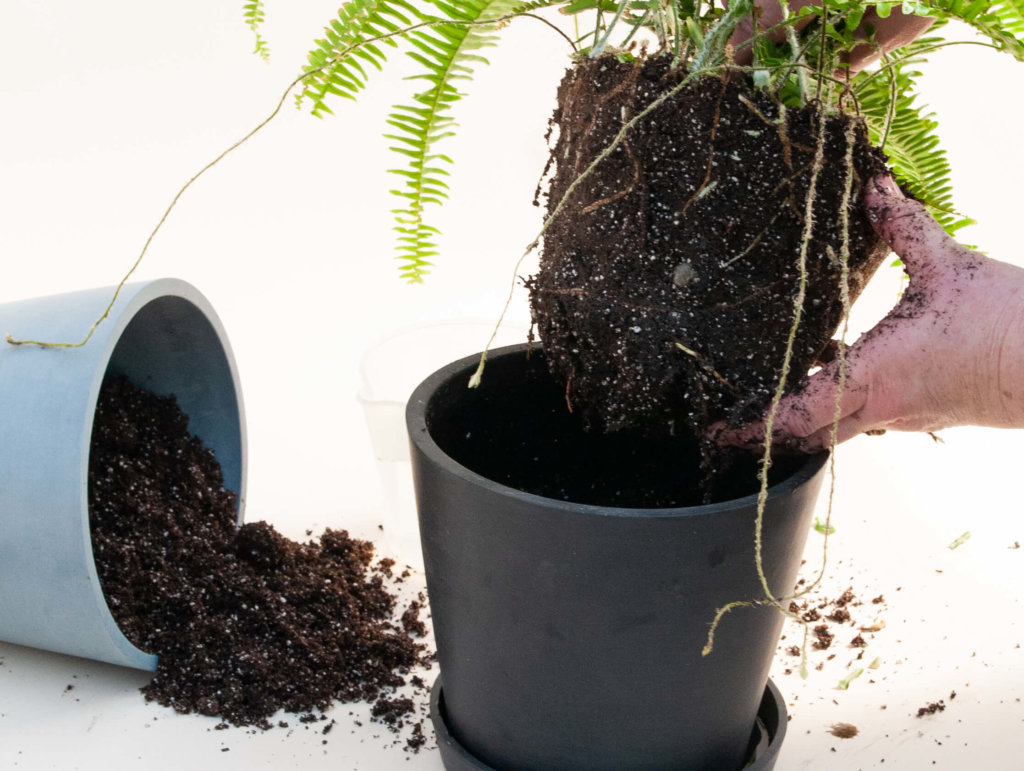
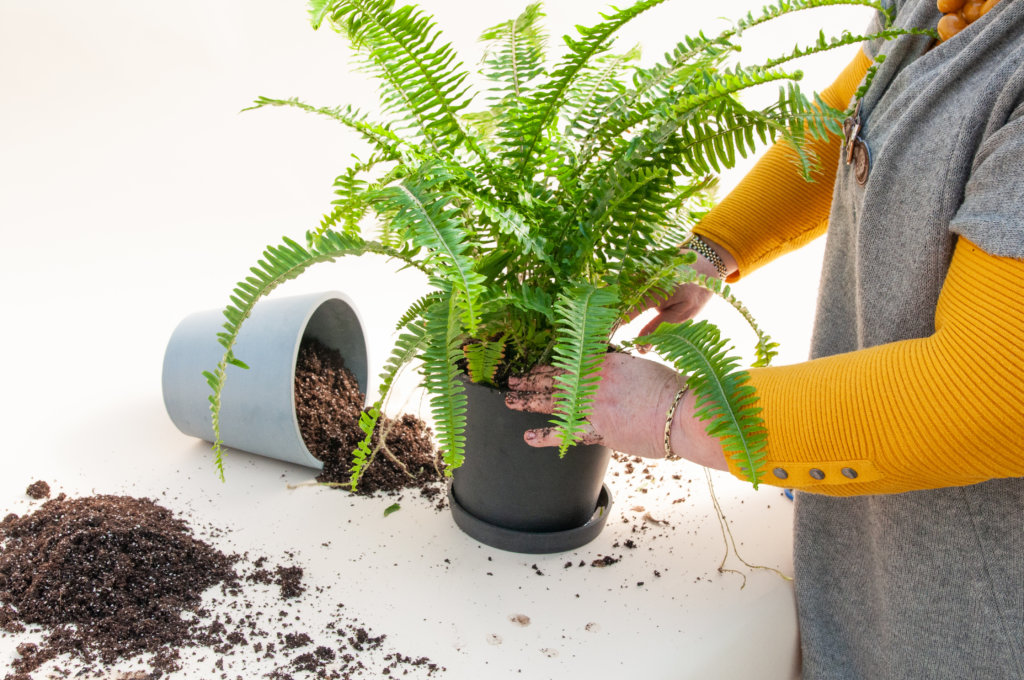
Place the plant in the center of the new pot, positioning the top of its root ball a few inches below the top of the pot.
Step 5
Fill the pot with soil, covering the root ball completely. Gently tamp the soil down around the roots. A soil scoop or hand trowel can come in handy here.
Step 6
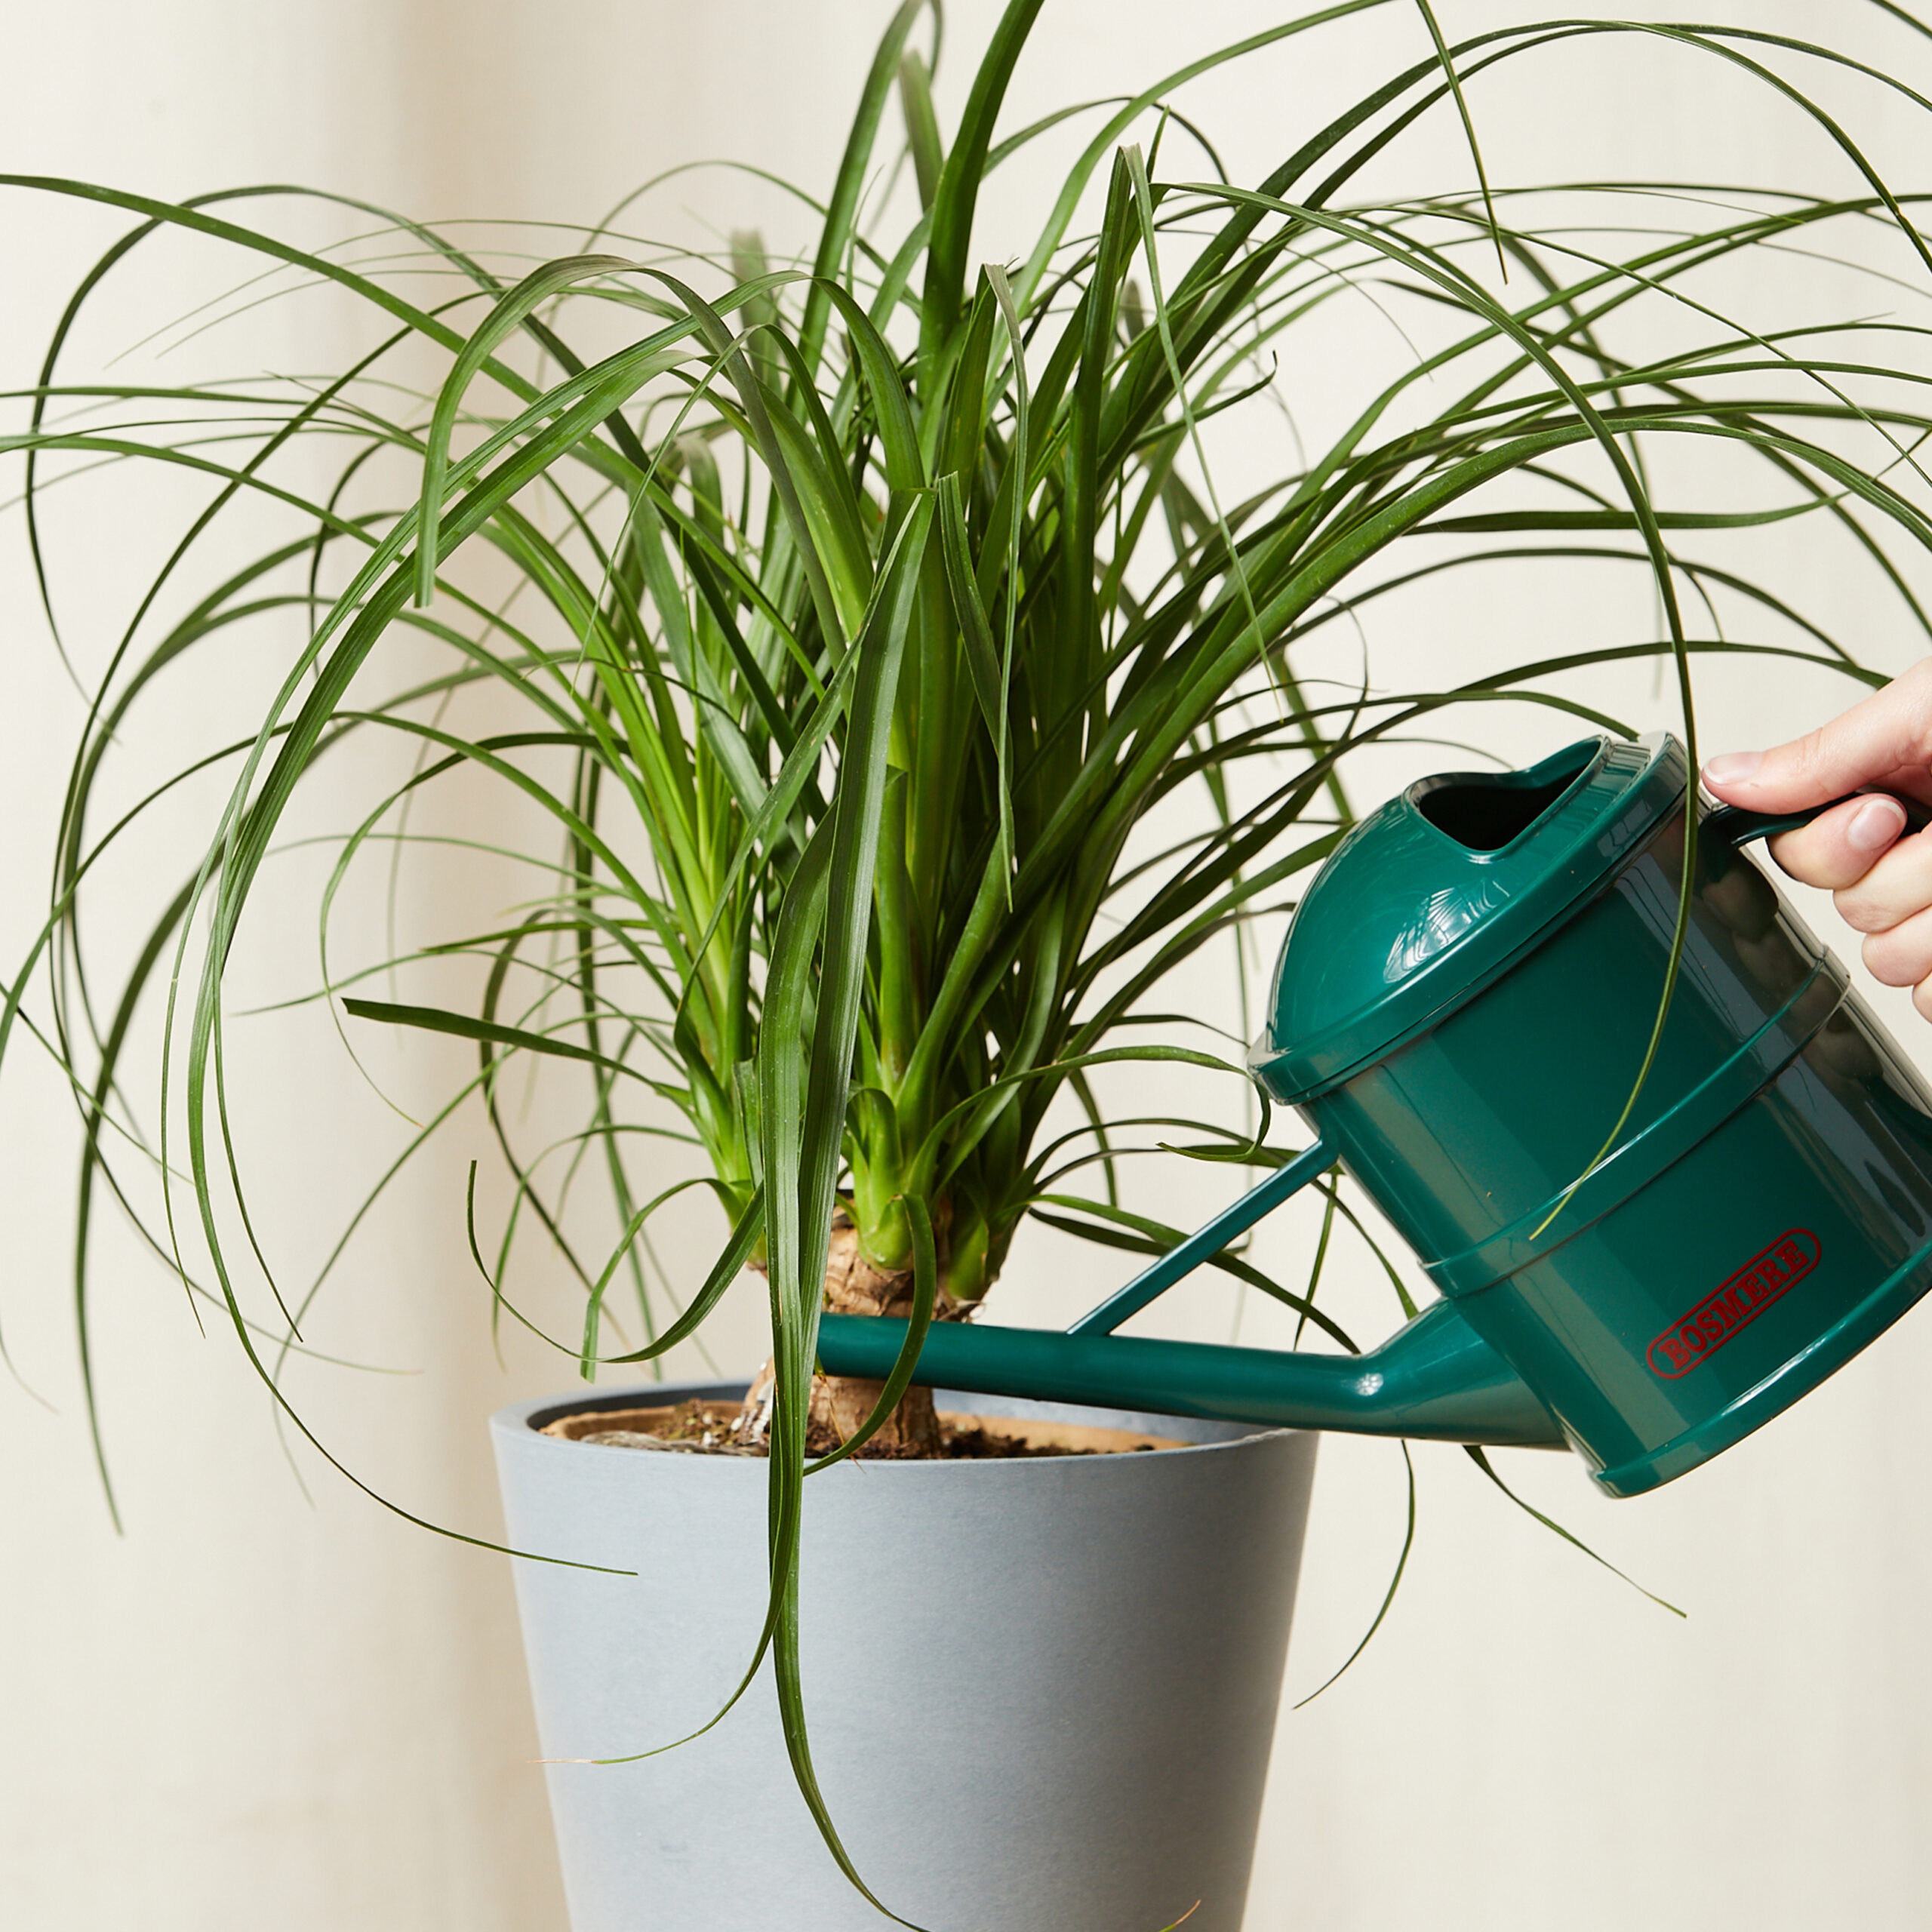
Finally, water the plant thoroughly using a watering can until the water flows freely from the bottom of the plant.
Step 7
Allow the plant to rest so that all the water drains from the pot. Then place it on its new saucer, making sure there is no puddling water.
Grow-How® Pro Tip:
When repotting, it’s extremely important your new pot has a drainage hole in the bottom for excess water to drain. A plant without proper drainage is much more susceptible to root rot and damage/death from overwatering. If you’re placing your new plant friend in a cache pot, we recommend removing the plant from its decorative home each time you water or taking care to remove any excess water left inside the cache pot during watering.

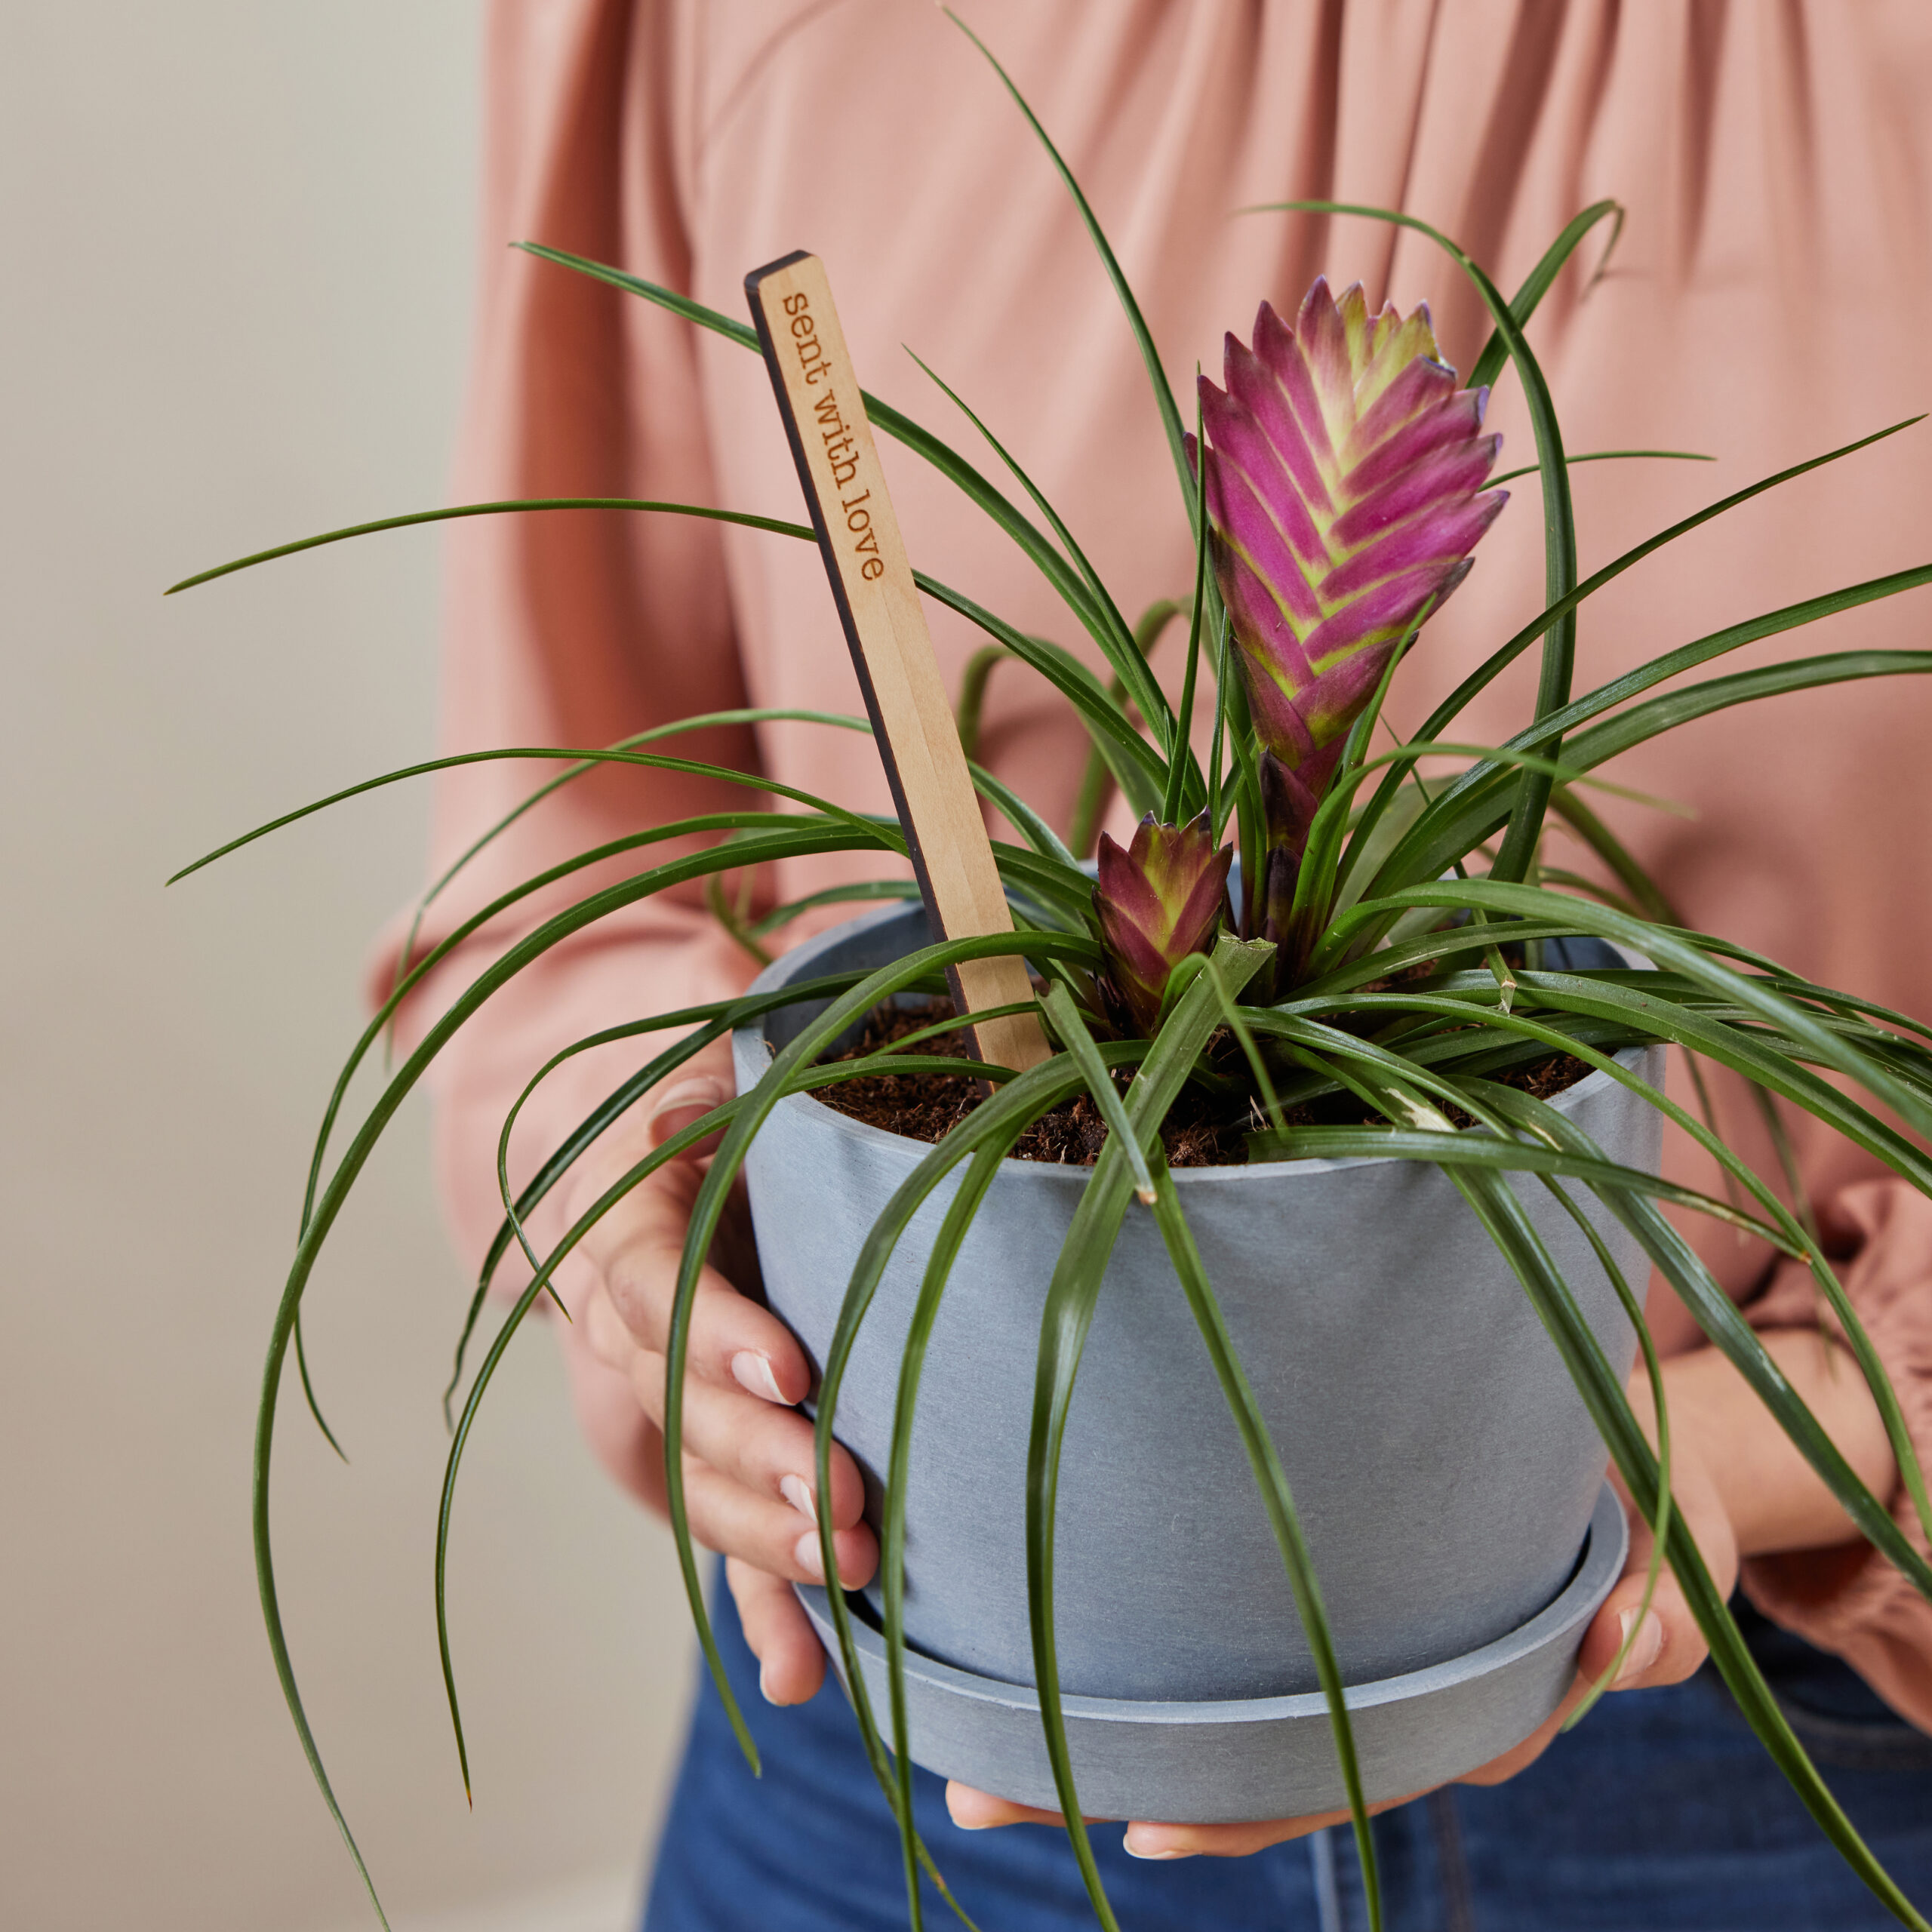
With your plant newly potted, review your included care card and visit our plant care guides to learn about light requirements, water needs, humidity preferences, and more. Enjoy your new greenery!
Need More Help?
Reach out to us at [email protected] — our team is here to help!