Plant Care
How to Propagate Trailing Plants
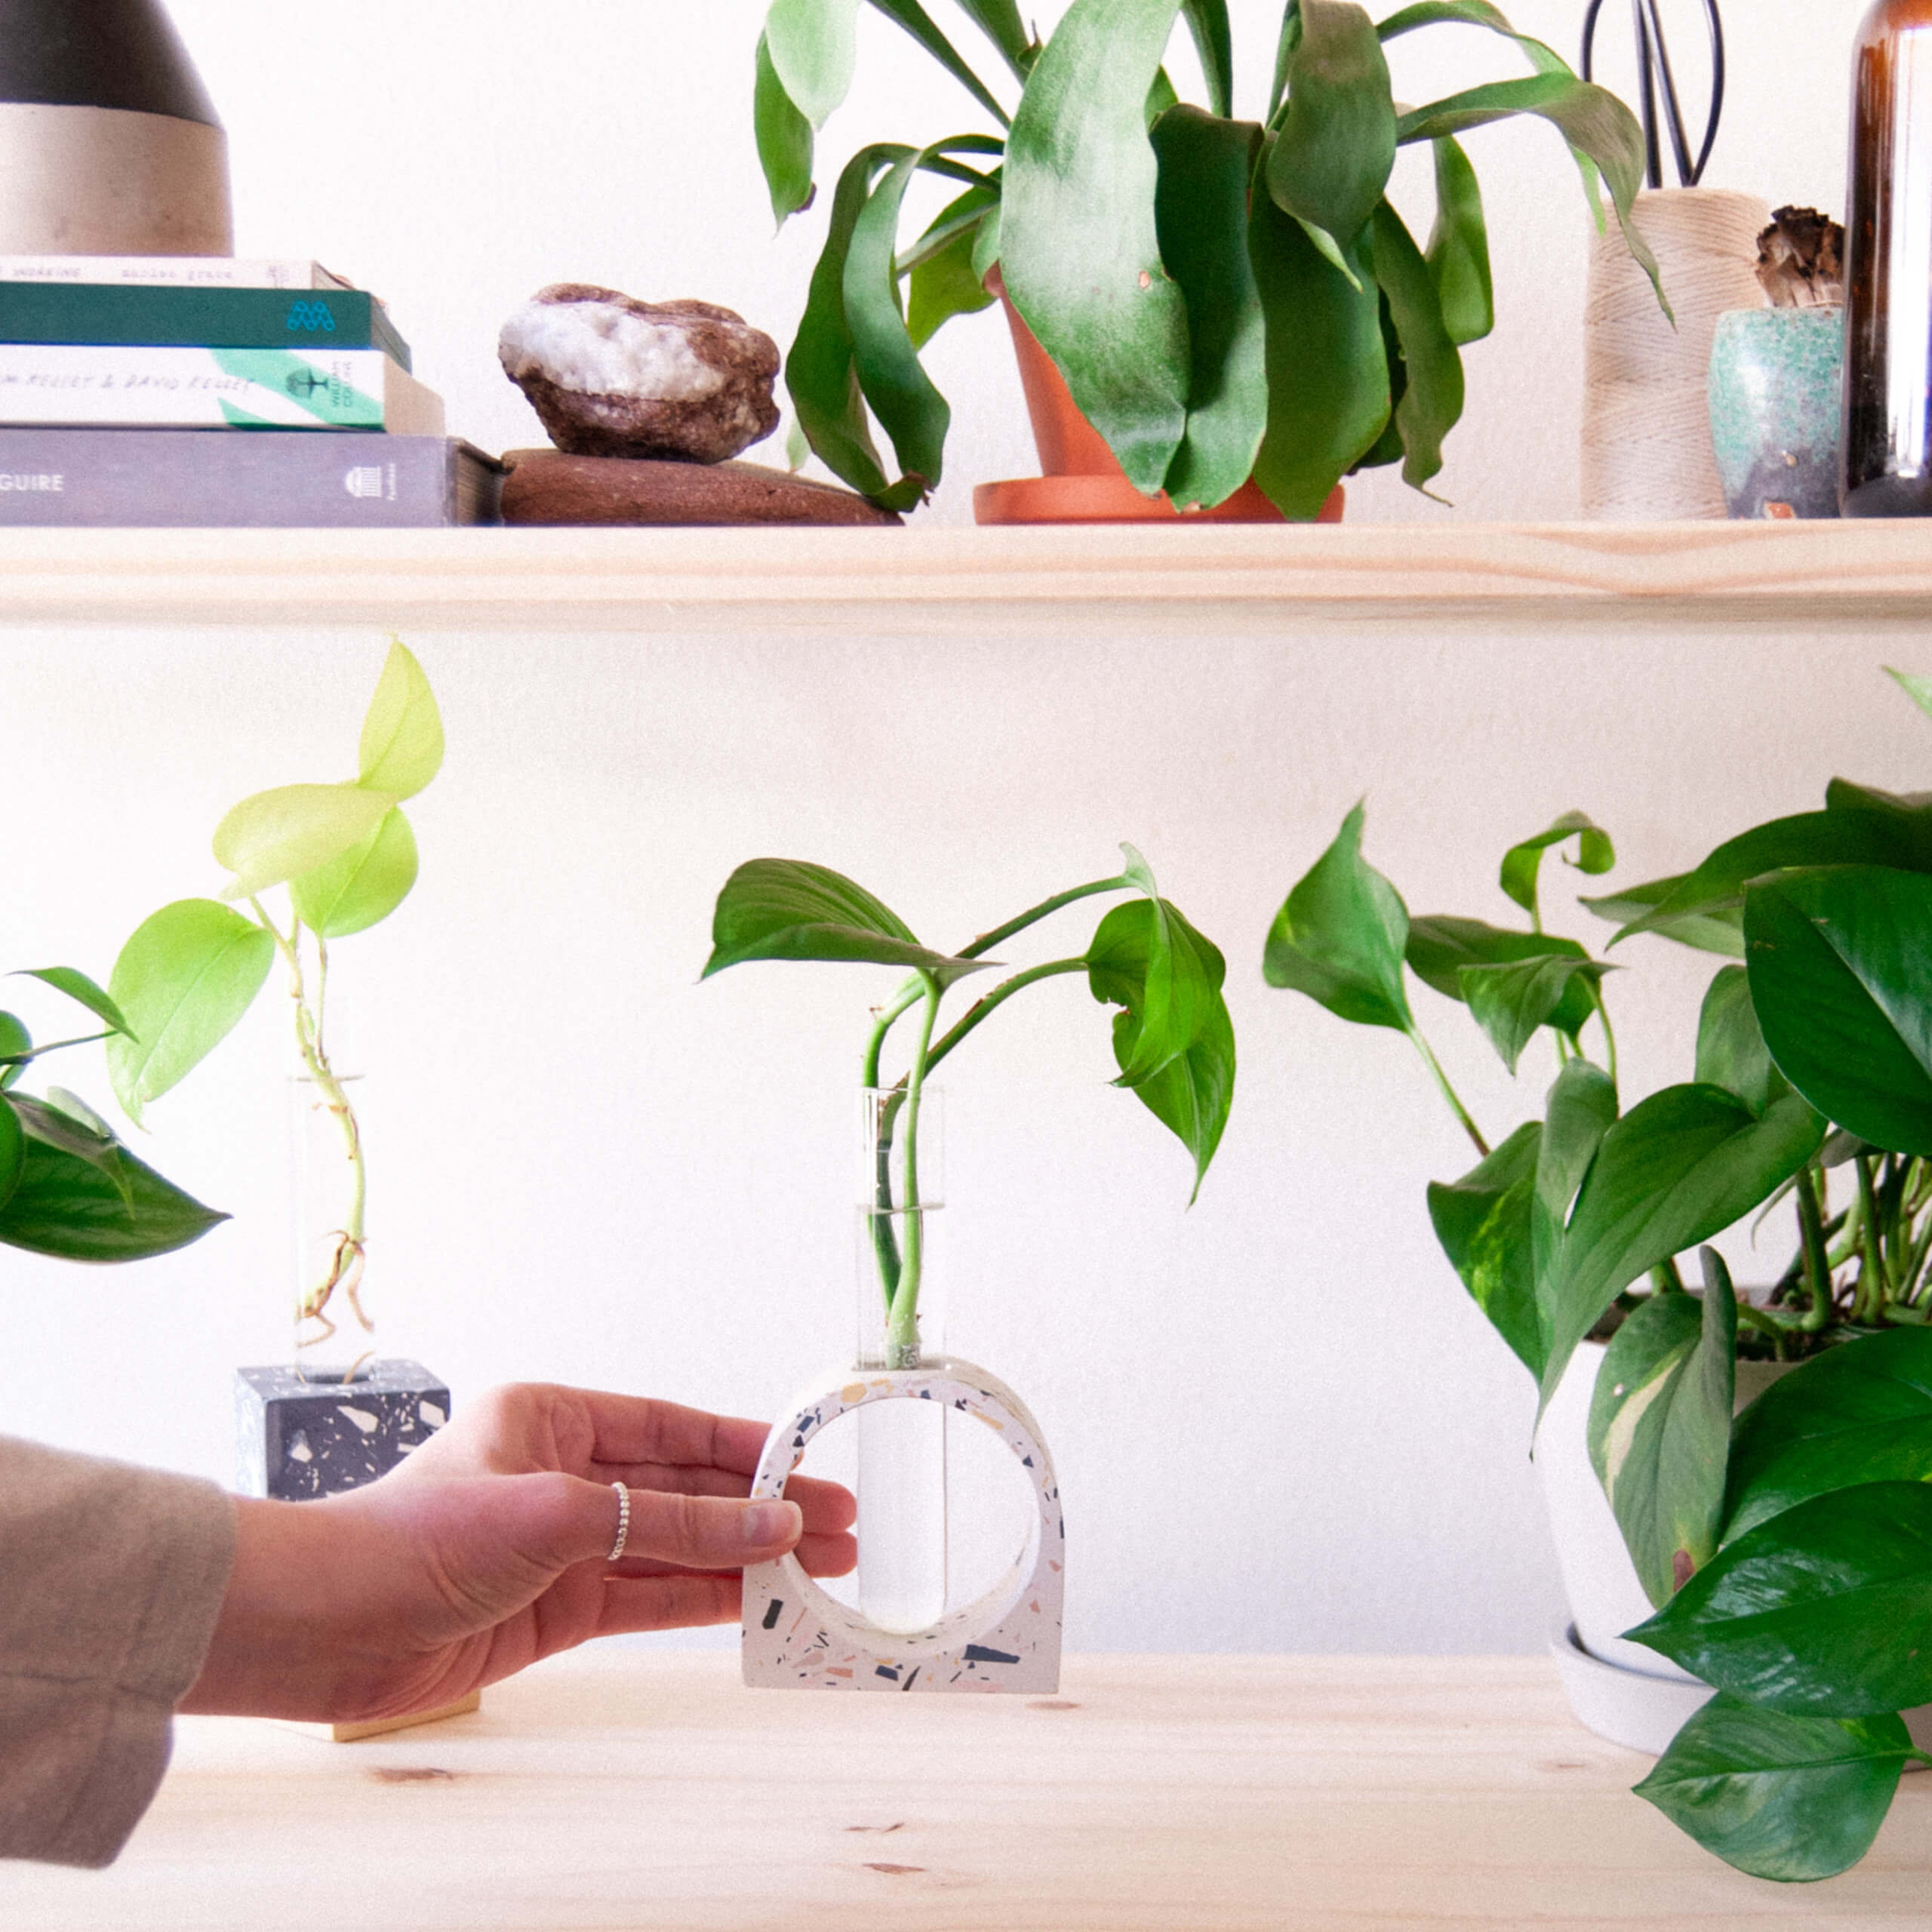
So you’ve decided to up your plant parenting game and want to try propagating—welcome, you’ve come to the right place. Propagation is a great way to increase your plant collection or share your most-loved plants with friends. It’s also a great way to learn about individual plant species and conduct your own plant-y science experiments.
Warning: there’s a good chance this propagation tutorial opens the door to creating an entire propagation station in your home. Once you see how easy it is to create new plants from your existing plants, you might not be able to stop!
There are quite a few ways to propagate houseplants, but in this article we’ll be focusing on the stem cutting method. Vining plants such as philodendrons, pothos, and monsteras work best with this method.
Choose your rooting medium
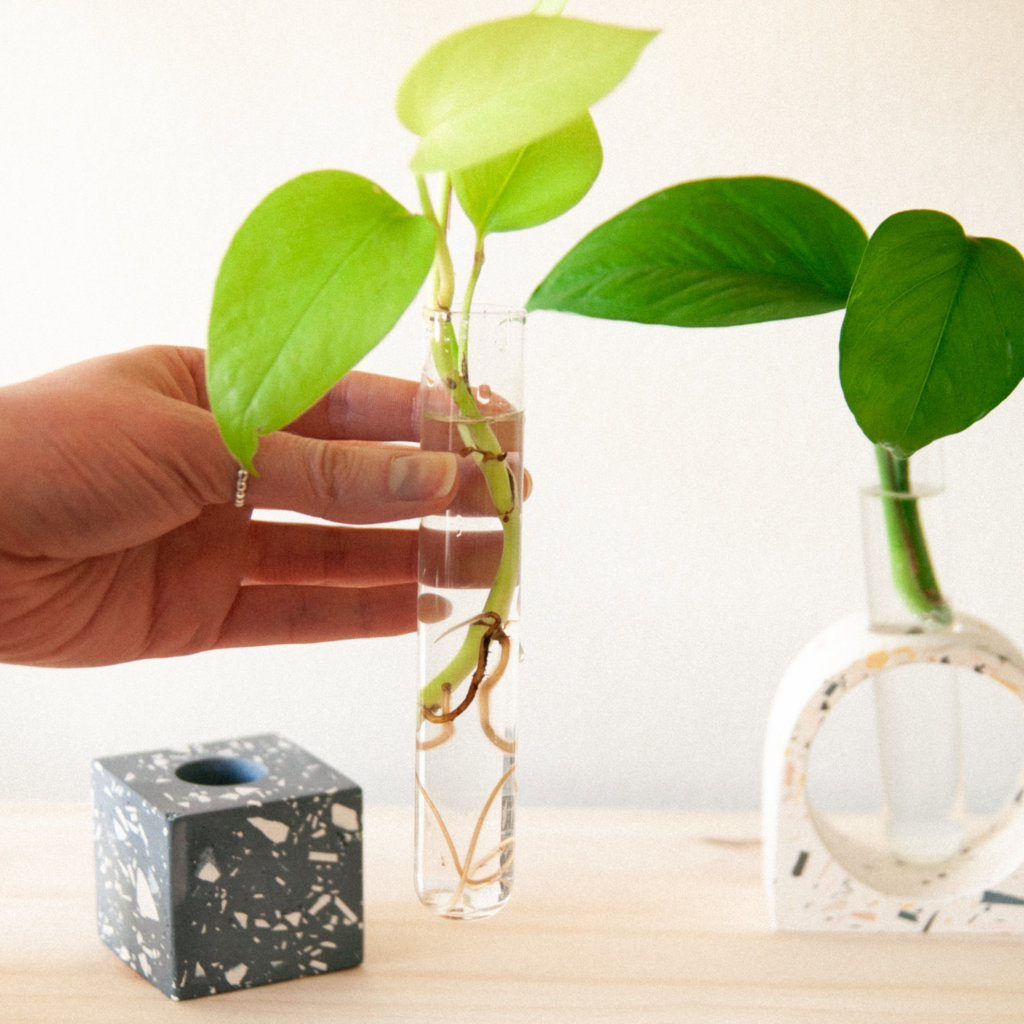
First things first, decide if you’d like to root your cuttings in water or soil. We recommend water if this is your first time propagating a plant, so you’ll see that method in our visuals. The big benefit of rooting in water is that it’s easier to observe progress as roots develop.
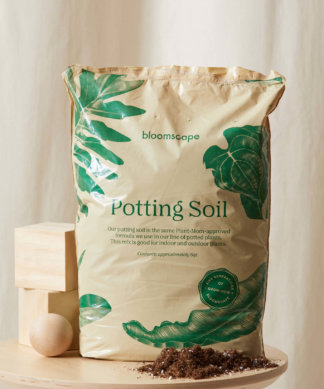
For advanced plant propagators, it’s fun to try rooting plants in potting soil. A benefit of rooting directly into potting soil is that you avoid the transplant shock of transitioning the cutting from water to soil. If you’re interested in the latter method, we’ve provided instructions for rooting in soil at the bottom of this page.
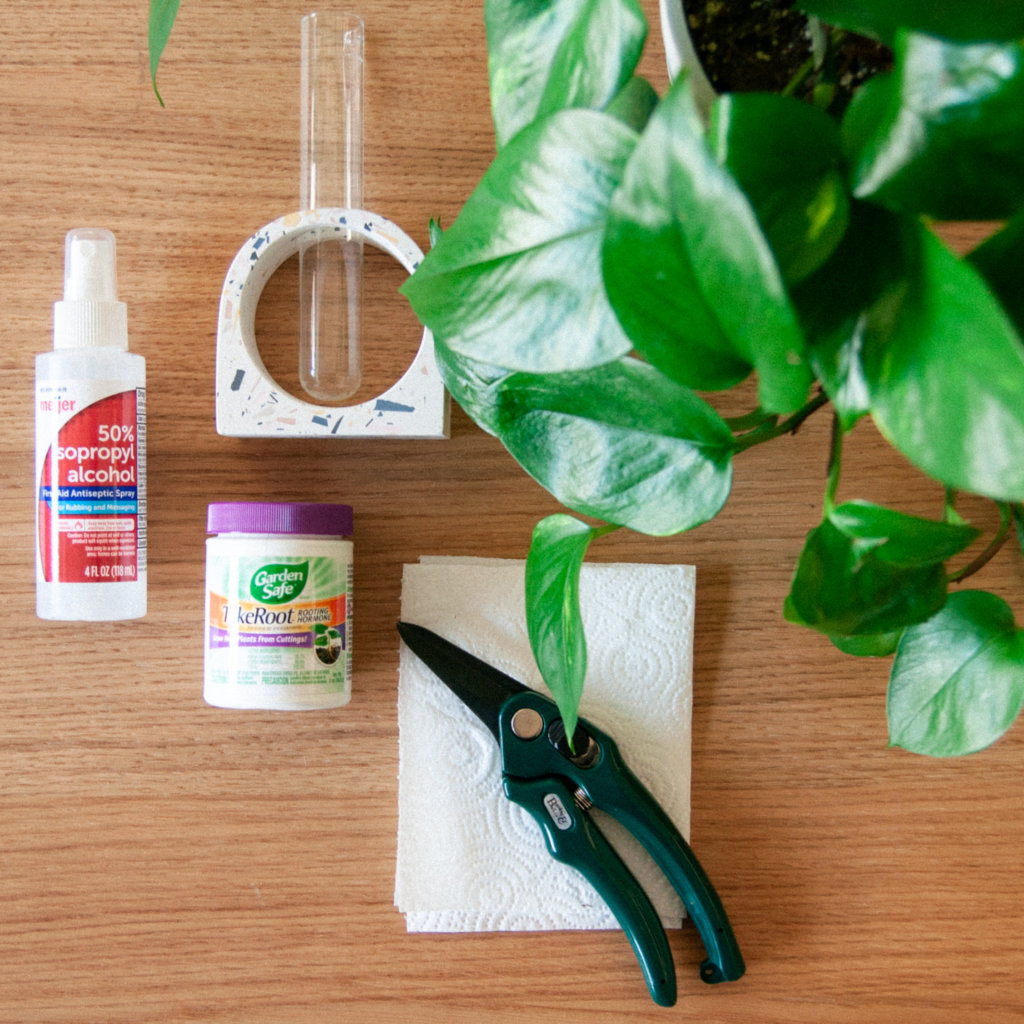
Gather your supplies
You’ll need a few basic tools to try your hand at propagating stem cuttings. Here’s what we recommend:
- A sharp cutting tool, such as pruning scissors or snips
- Rubbing alcohol
- Rooting hormone (optional)
- For water rooting: A glass tube or vase and fresh water
- For soil rooting: A small pot with drainage and fresh potting soil
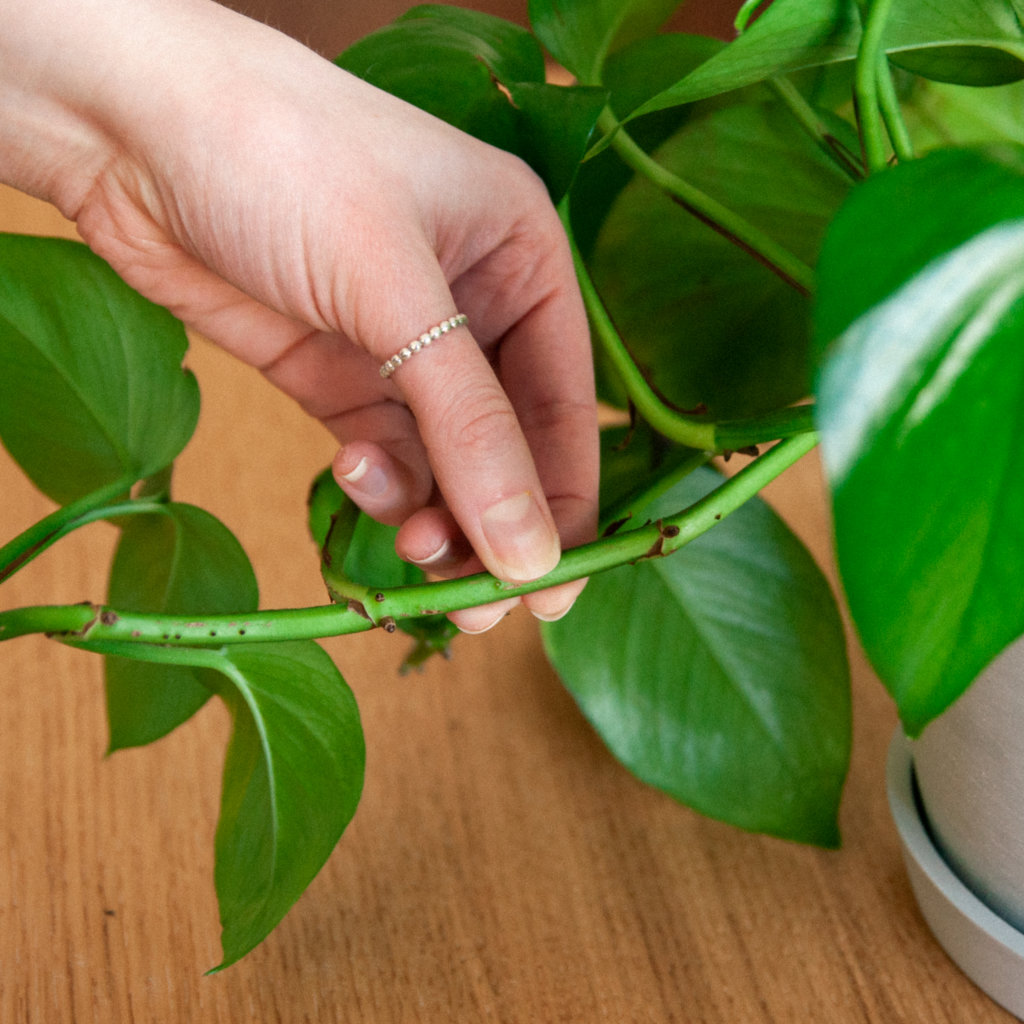
Get to know your plant
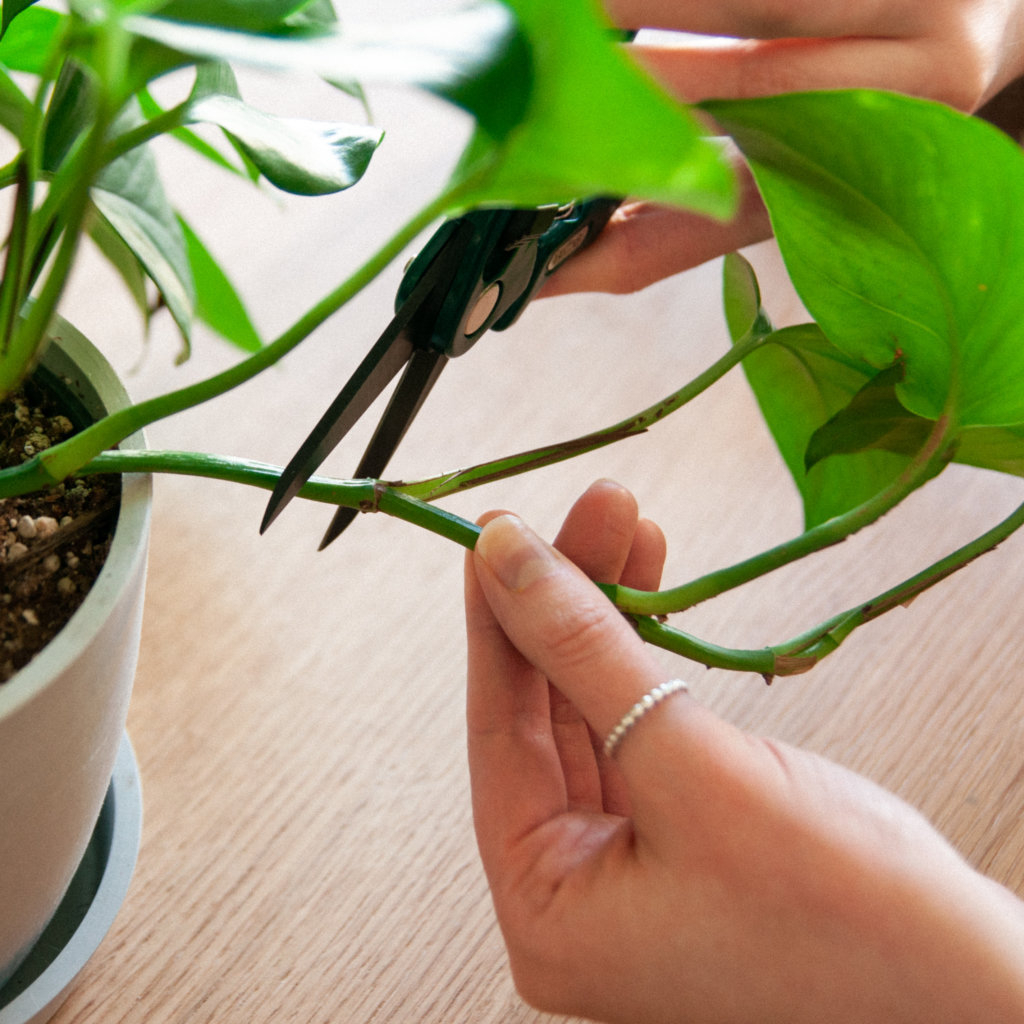
Time to get familiar with the plant you’ll be trimming from, which can be referred to as the “mother plant.” In order to take a stem cutting, you’ll need to cut a portion of the stem that includes at least one node. A node is a small raised bump where new roots will grow from, typically opposite a leaf.
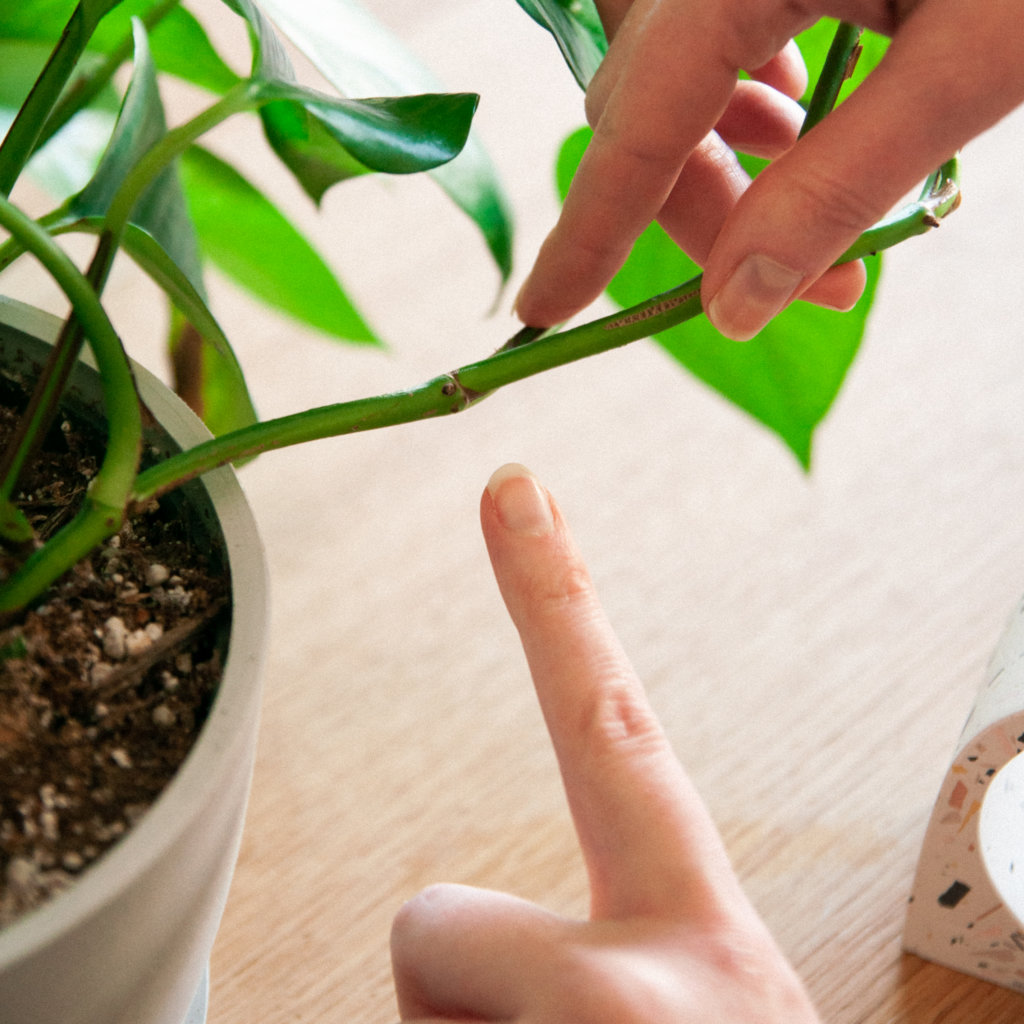
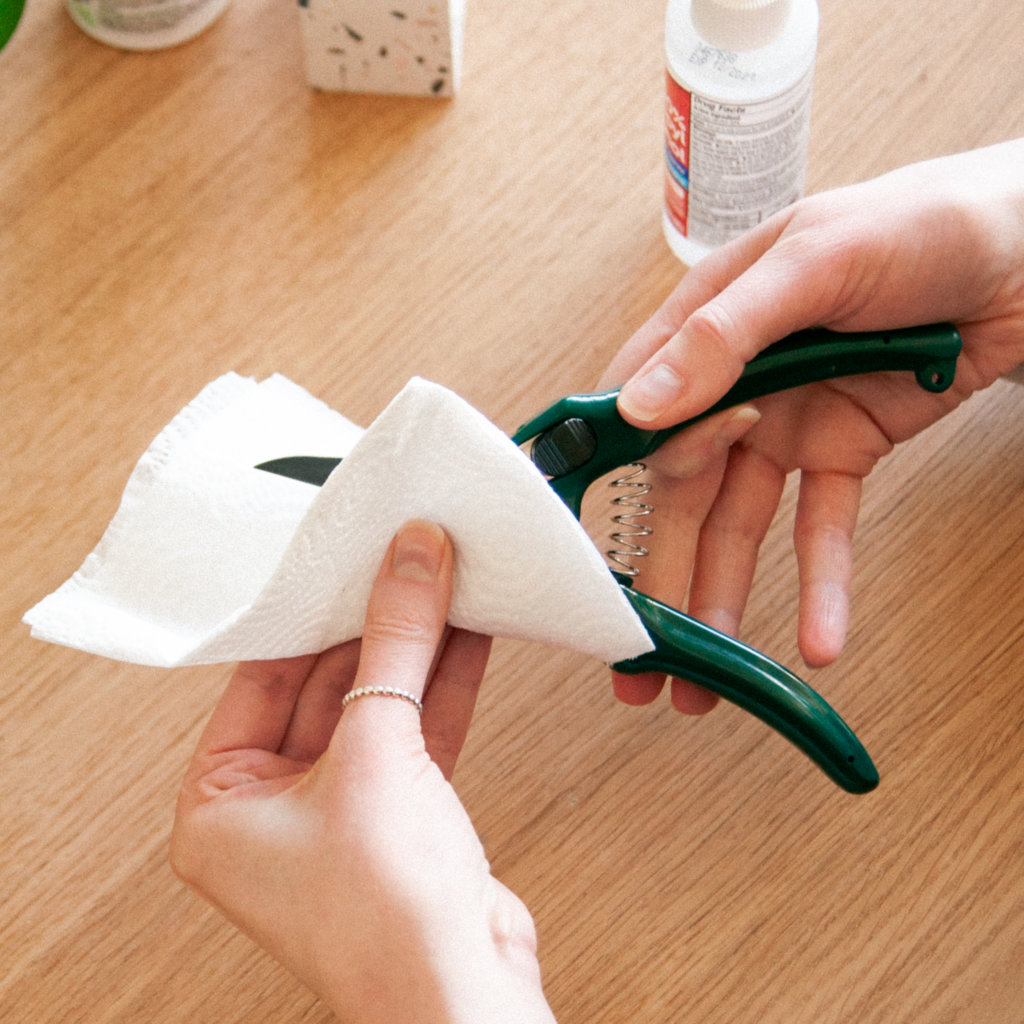
Sanitize your scissors with rubbing alcohol (this reduces bacteria spread that can be harmful to your plant) and cut the vine just below the node you’ve located. Make sure to include 1-2 nodes, and anywhere from 2-4 leaves, if possible.
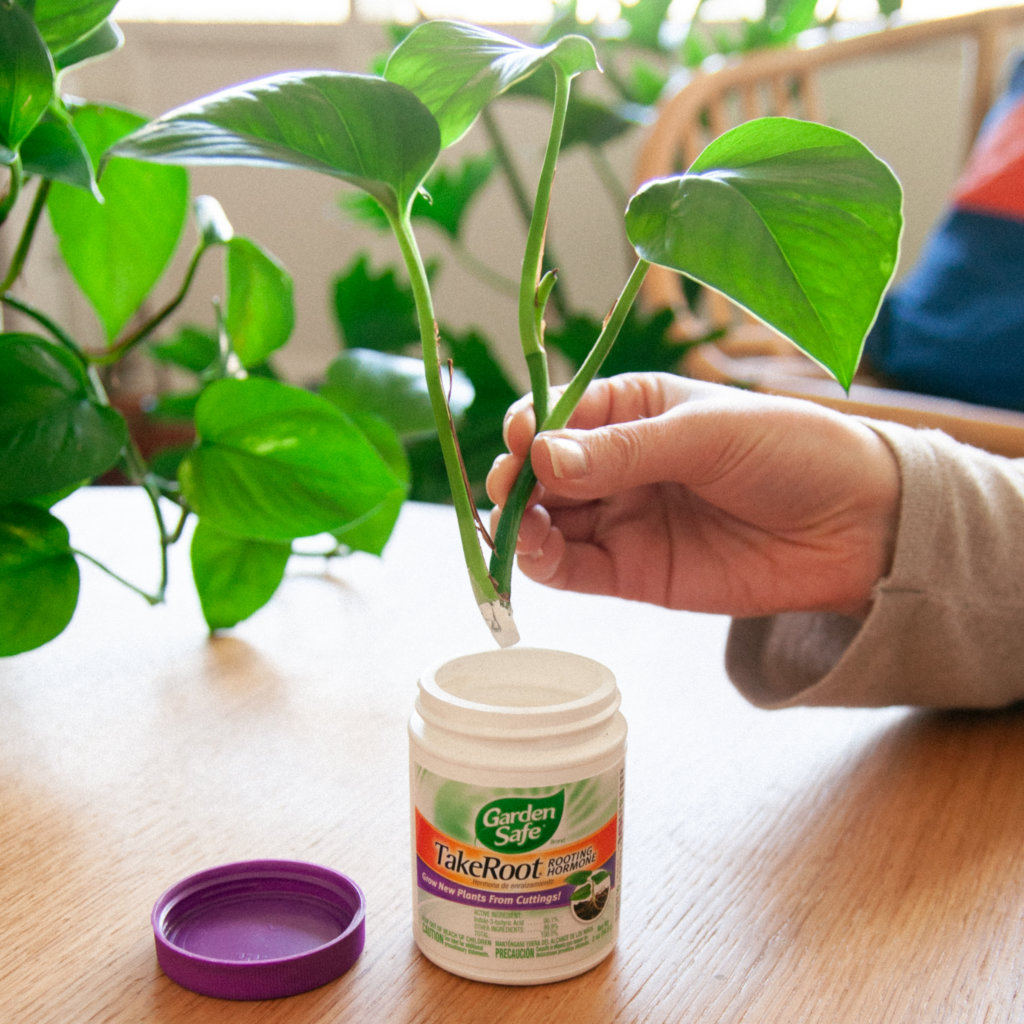
Optional: dip the end of your cutting in rooting hormone before placing it in water. Rooting hormone isn’t necessary, but it will help speed up the rooting process.
Rooting in water
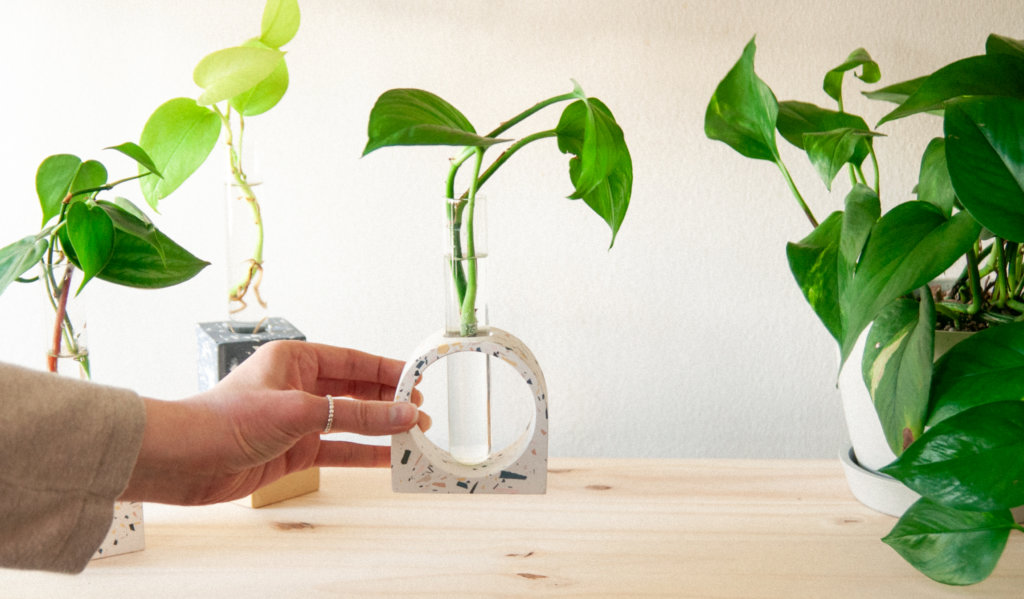
Place the cutting in your propagation jar and fill with fresh water. Keep it in a warm, bright location out of direct sunlight and wait until roots grow and develop to about 1-3 inches long. Be patient, this can take anywhere from 2-6 weeks or in some cases, months! After roots have developed, plant your cutting in fresh soil in a pot and water as normal.
Rooting in soil
Follow trimming instruction above. Fill your pot with fresh soil until it is about 75% full. Make an indentation with your finger a few inches deep. Place the cutting into the indentation you’ve made and add more soil to fill the top of the pot. Tamp down the dirt around the cuttings so they’re secure. Give your cuttings a thorough drink of water until the soil is evenly moist. It is incredibly important you choose a pot with a drainage hole. If water cannot escape, your cuttings may become too wet and start to decay before they can properly root.
Pro tip: your freshly planted cuttings would love a boost in humidity to help kick-start their growth. Place a large glass jar or cloche (or a plastic freezer bag) over your pot to help retain humidity.
If all goes well, you should have fresh new roots in a few weeks. We’d love to see your propagation pics! Tag us on Instagram and let us see those roots!